

One of the biggest steps after learning how to program devices and sensors with Arduino is to make your device “Internet Enabled.” In this article, I’ll show you the steps to connect an ESP8266 to WiFi so that you can add Internet connectivity to custom prototypes.
That way if you want to create a custom prototype with network capabilities, you can collect and publish data from the cloud, your home, and practically anywhere.
WiFi connectivity is also important if you want to add voice control, like Siri, to an Arduino device.
How to Connect the ESP8266 to WiFi
This tutorial is intended for more Intermediate learners. We won’t be covering the basics of Arduino in this tutorial.
If you don’t have a foundation in electronics, coding, and Arduino, I recommend taking a look at my Arduino for Beginners course and learning those skills first.
However, if you’ve already built a project using the ESP8266 and can’t quite get it “online” for monitoring or cloud access, this tutorial will guide you through that process.
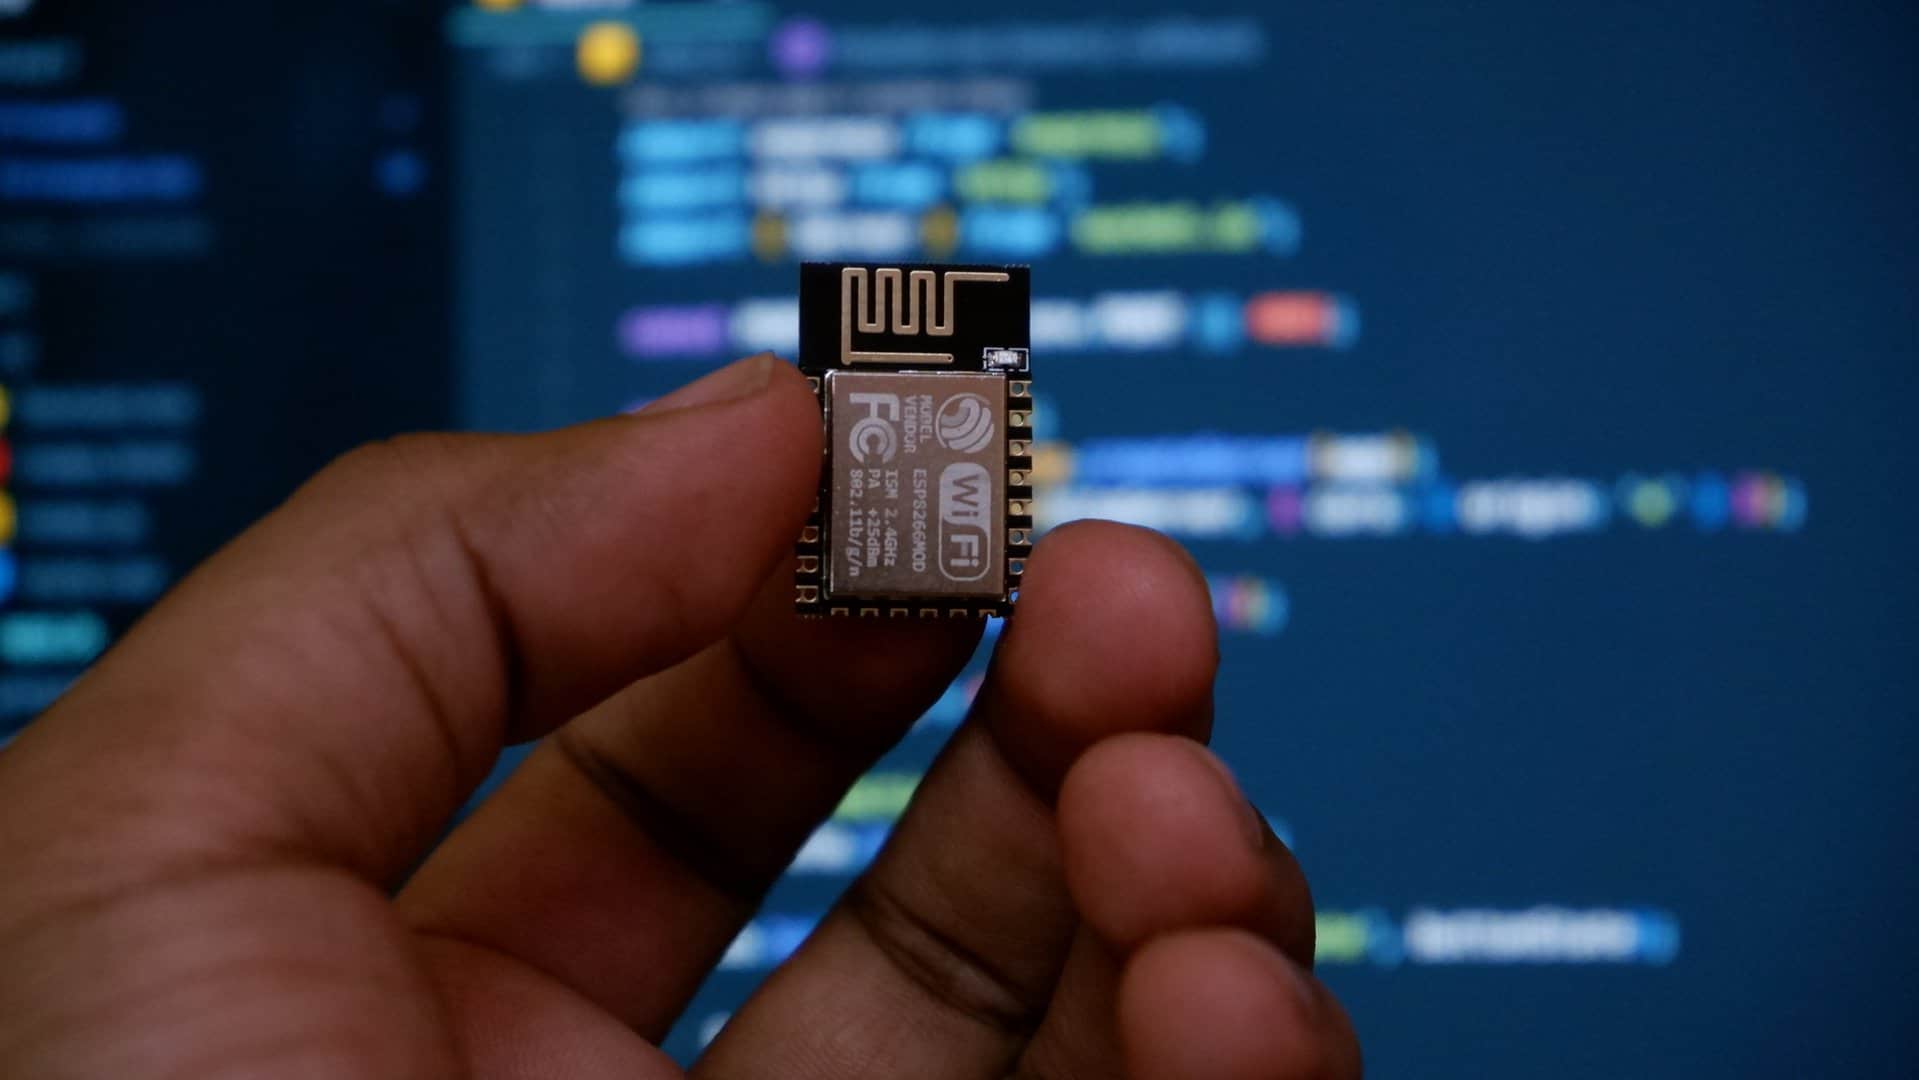
Hardware You’ll Need
You’ll need some basic hardware for this project. I recommend using the Wemos D1 Mini or NodeMCU as your WiFi-enabled chip.
Best IoT Kits we recommend:
👉 Check out our Best Arduino Kits here.
The Arduino Kit and Sensors are optional. We won’t get into specifics on how to wire a circuit or publish and collect data from the Internet in this article.
However, we have a few articles that cover publishing and subscribing in detail:
The purpose of this tutorial is to show you the three steps on how to take an Arduino controller and get it connected to your home network (and WWW) so that you can use it as an IoT device.
We won’t cover how to add the ESP8266 to the Boards Manager or basic configuration in this tutorial. If you haven’t programmed an ESP8266 (NodeMCU or Wemos D1 Mini) then I recommend checking out our getting started guide before reading this tutorial.
Step 1. Connect the ESP8266 WiFi
First, use the Arduino Board Manager to configure the ESP8266. More detailed instructions are available below:
Once you have the board configured, include the ESP8266WiFi header.
#include <ESP8266WiFi.h>
Next, create two global variables to store your network SSID and password. This is your WiFi Network’s name and password, respectively.
/*ADD YOUR PASSWORD BELOW*/
const char *ssid = SECRET_SSID;
const char *password = SECRET_PASS;
For example, if I wanted to connect to the network, LearnRoboticsWIFI and the password is RoboticsR0ck$ (not real btw), then you’d write the following lines:
/*ADD YOUR PASSWORD BELOW*/
const char *ssid = LearnRoboticsWIFI;
const char *password = RoboticsR0ck$;
Then, initialize a WiFiClient called client.
WiFiClient client;
Now that we have our globals taken care of, we can write a method that connects the controller to the WiFi network we defined using the SSID and password above.
Step 2. Connect the ESP8266 to WiFi Network (SSID)
The next step is to create a connectToWiFi() method. We can use the Serial Monitor to print out messages as we attempt to connect to our WiFi Network.
/*
* Connect your controller to WiFi
*/
void connectToWiFi() {
//Connect to WiFi Network
   Serial.println();
   Serial.println();
   Serial.print("Connecting to WiFi");
   Serial.println("...");
   WiFi.begin(ssid, password);
   int retries = 0;
while ((WiFi.status() != WL_CONNECTED) && (retries < 15)) {
   retries++;
   delay(500);
   Serial.print(".");
}
if (retries > 14) {
    Serial.println(F("WiFi connection FAILED"));
}
if (WiFi.status() == WL_CONNECTED) {
    Serial.println(F("WiFi connected!"));
    Serial.println("IP address: ");
    Serial.println(WiFi.localIP());
}
    Serial.println(F("Setup ready"));
}
This code will try to connect to the network 15 times. If it can’t connect, then it will fail and print out a failure message in the Serial Monitor.
Otherwise, you’ll see that the controller is connected.
After the method is written, don’t forget to call it within your setup() routine. We only want to run the connectToWiFi() method once.
/*
 * call connectToWifi() in setup()
 */
void setup(){
 //...other setup code here...
 connectToWiFi();
}
And that’s it! Once you have this code added to your sketch, you can test it out.
Step 3. Test the Connection: ESP8266 to WiFi
Before testing this program, ensure that you’ve added the correct network SSID (name) and password.
Then, upload your full sketch (with the WiFi connection code from Steps 1 and 2) to your ESP8266.
Next, open the Serial Monitor and watch the initialization happen. You should see a few lines that say “Connecting to WiFi.”
The controller will attempt to connect 15 times. If it fails, you’ll see the message “WiFi connection FAILED.”
Ideally, you’ll see a series of messages printed out on the Serial Monitor:
- “WiFi connected!”
- “IP address: ” plus the assigned IP address from your router
- and “Setup ready”
Once you see the “Setup ready” message, you’re ready to start using your ESP8266 on WiFi. You can also access (or ping) your device at the IP address that it was assigned from the router.
What can you do with a WiFi-enabled Arduino?
The best part about connecting an ESP8266 to WiFi is that you can now use these projects on your internal (home) network or send data to a cloud service.
This is useful for remotely monitoring sensors or devices, making IoT projects, and for custom home automation systems. After you add your ESP8266 to the Internet, the possibilities of what you can build, track, and create, become endless.
Are you looking for Arduino projects to make?
Here are some of our most popular IoT projects you can try:
- Bored? Here are 17 Internet of Things Project Ideas
- Home Automation Ideas (You can do today)
- Home Automation using Google Assistant & ESP8266
- Control iRobot Roomba with Siri (Tutorial)
- Add Voice Control to Arduino Projects using Siri
Ready to professionalize your robotics hobby? Get Certified in Robotics


6 Responses
Thanks for your article. The password and SSID needed to be enclosed in quotation marks to work successfully.
Thanks Jon!