

In a previous article, I showed you how you can establish communication between Arduino and Python. In this tutorial, I will show you how you can use OpenCV, Python, and Arduino to detect and track faces. Face tracking can be used in a variety of robotics projects and applications.
Once you learn the basics from this face tracking OpenCV project, you can use your imagination to put these skills to work! So without wasting any more time, let’s get right into it.
Face Tracking OpenCV Project Materials
For this project, you’ll need an Arduino Uno, servos, pan-tilt kit, breadboard kit, and webcam. (You can also use your laptop’s built-in camera.)
Along with the hardware components, you will also need the following software:
- Python 2.7
- OpenCV
- pyserial
- NumPy
- Haarcascade
Set Up the Python Environment
First, we need Python 2.7 up and running. To do this first download and install python 2.7.14.
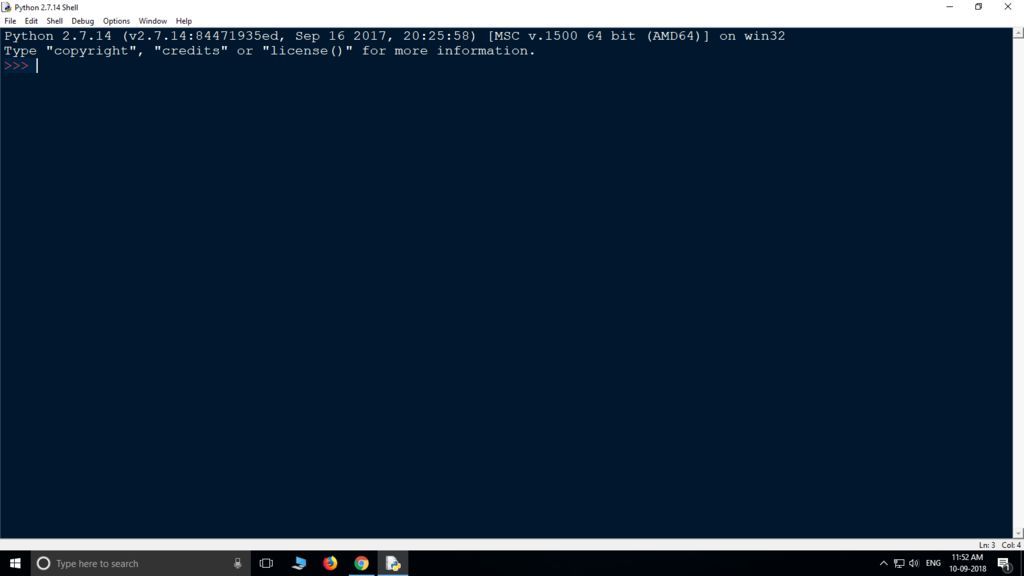
To check if it is installed correctly Goto: Windows Search >> Type “IDLE” >> Hit Enter.
You should see a Python shell that looks something like the photo below.
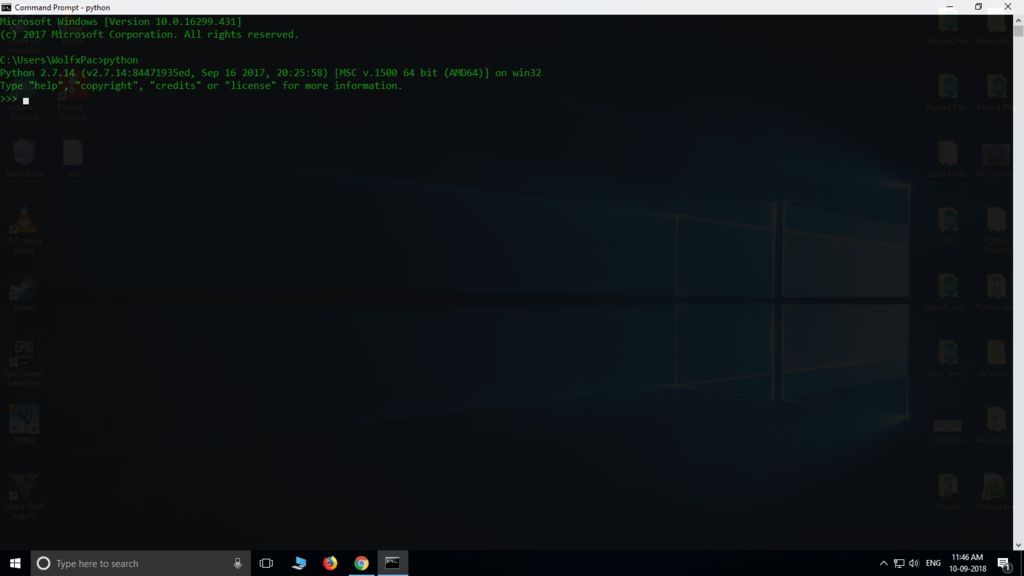
You can also use the Command Prompt and script from the terminal. In search bar type ‘CMD,’ and hit enter to open Command Prompt. In CMD type >> python and hit enter. The Python interface will look similar to the photo below.
If you see an error in CMD, do not worry. You probably need to set the environment variable. You can follow this tutorial here to set up the environment variable.
Install ‘pyserial’, ‘OpenCV” and “NumPy” in Python
To install these modules we will use use pip install. First, open CMD and type the following codes:
>pip install serial
>pip install opencv-python
>pip install numpy
Install each of the modules one by one. These modules will help us detect and recognize objects (face tracking in this case). And, they’ll help us connect our Arduino board to Python.
Face Tracking with Python
Before starting to write code first thing to do is make a new folder as all of the code needs to be stored at the same location. Next, create a new folder, and name it anything you want. Now download the ‘Haarcascade‘ paste it in the folder. Next, download the script given below. Save it as ‘face.py’ in the same folder as haarcascade.
Download the Starter Files for this Project

Arduino Face Tracking Code
After the Python script is ready, we need to create an Arduino sketch to control the servos. Refer to the code below. Copy and paste it into a new Arduino sketch.
Save the sketch as ‘servo.ino‘ in the same folder as face.py and haarcascade. Upload the code and move onto the next step to make the connections.
#include<Servo.h>

Servo servoVer; //Vertical Servo
Servo servoHor; //Horizontal Servo

int x;
int y;

int prevX;
int prevY;

void setup()
{
  Serial.begin(9600);
  servoVer.attach(5); //Attach Vertical Servo to Pin 5
  servoHor.attach(6); //Attach Horizontal Servo to Pin 6
  servoVer.write(90);
  servoHor.write(90);
}

void Pos()
{
  if(prevX != x || prevY != y)
  {
    //tune this range to generate map
    int servoX = map(x, 600, 0, 70, 179);
    //tune this range to generate map
    int servoY = map(y, 450, 0, 179, 95);

    servoX = min(servoX, 179);
    servoX = max(servoX, 70);
    servoY = min(servoY, 179);
    servoY = max(servoY, 95);

    servoHor.write(servoX);
    servoVer.write(servoY);
  }
}

void loop()
{
  if(Serial.available() > 0)
  {
    if(Serial.read() == 'X')
    {
      x = Serial.parseInt();
      if(Serial.read() == 'Y')
      {
        y = Serial.parseInt();
       Pos();
      }
    }
    while(Serial.available() > 0)
    {
      Serial.read();
    }
  }
}
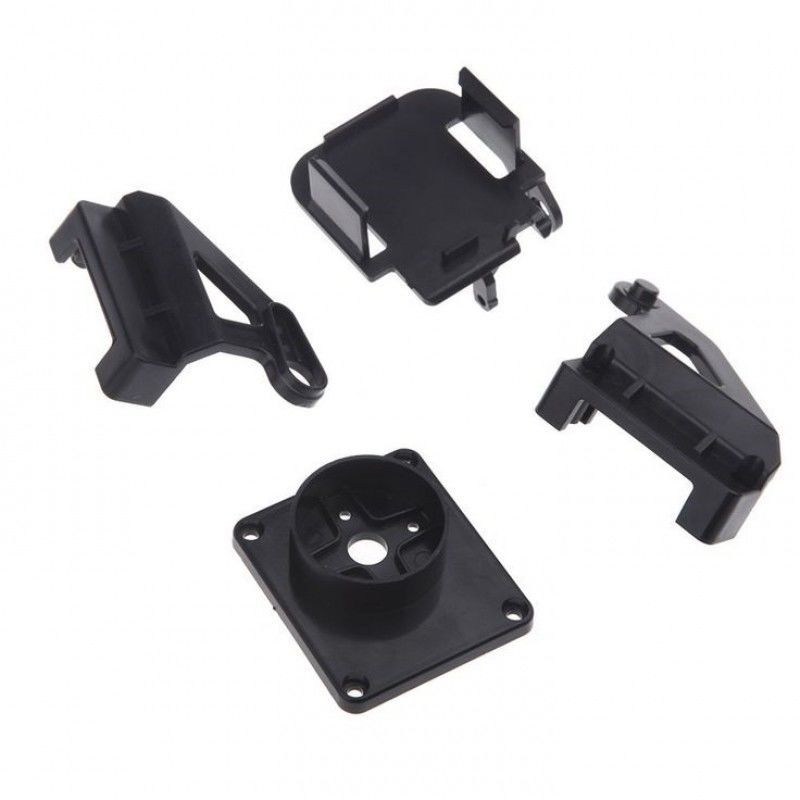
Pan-Tilt Mechanism
I have used a readily available kit for the Pan-Tilt. If you want you can make one yourself using wood or plastic, or you can even 3D print one. I used a kit you can get on Amazon, Gearbest, or Banggood.
You can use our guide to assemble the Pan-Tilt mechanism properly. Once you finish that, it’s time to move on to the electronics.
Wiring Diagram for Face Tracking OpenCV
The circuit is pretty simple. Just attach two servos to Arduino as shown in the wiring diagram below.
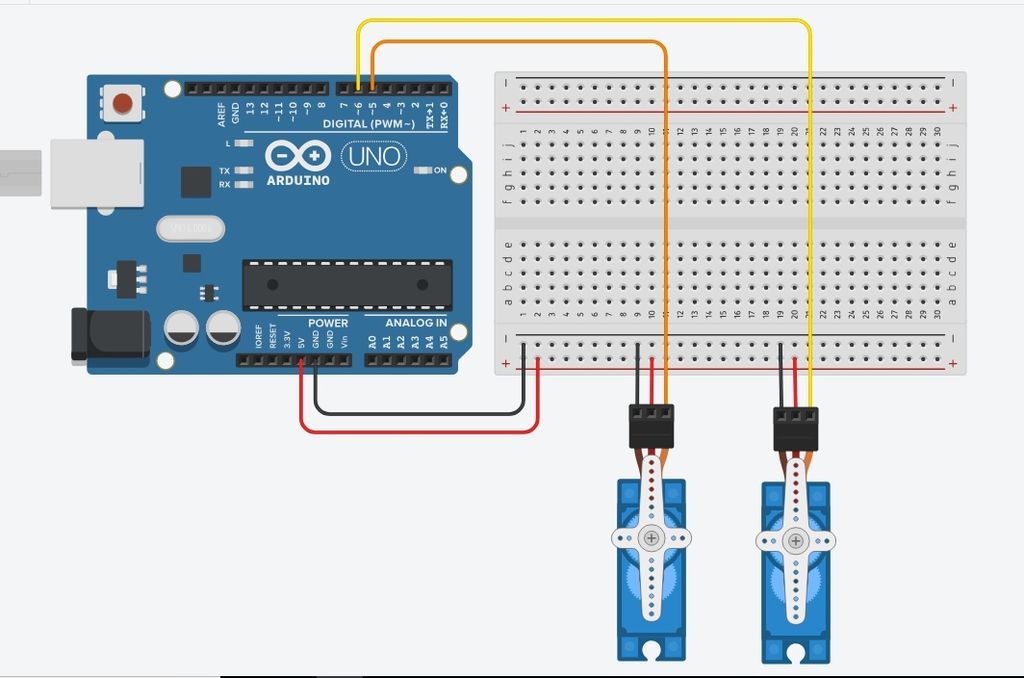
The vertical servo signal pin goes to digital pin 5. The horizontal servo signal pin goes to digital pin 6. Power goes to +5V and Ground goes to Ground.
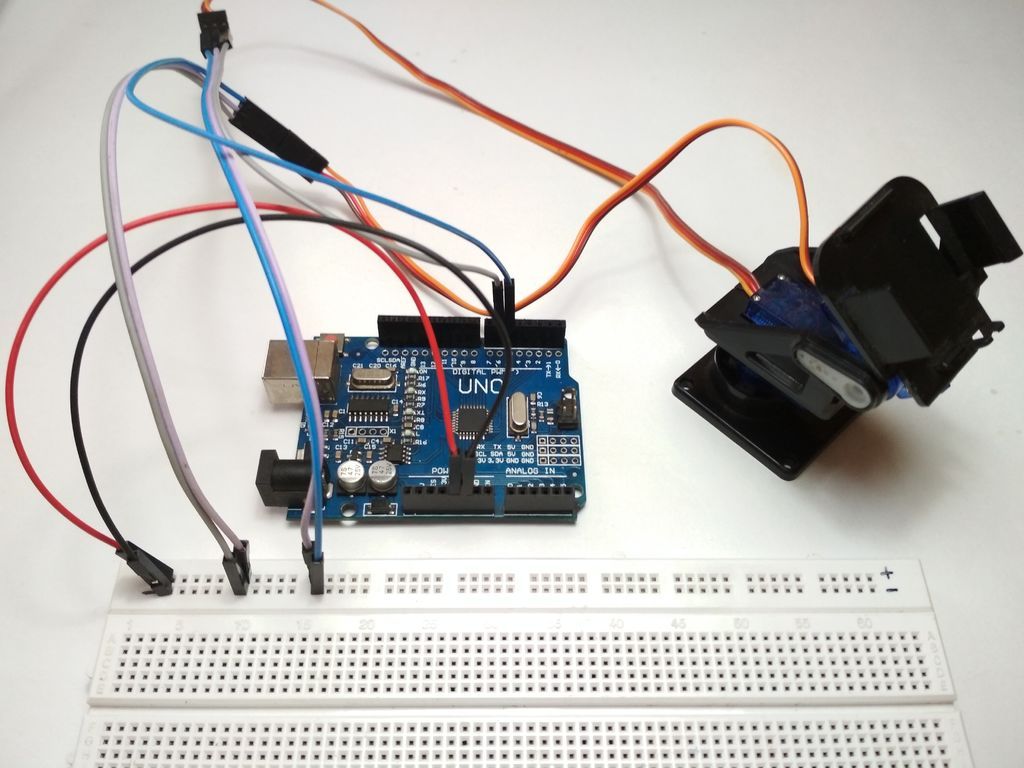
Here’s what the final assembly looks like.
Test the Face Tracking OpenCV project
After everything is done, the last thing to do is to test to see if it works. First, make sure that the servos are properly connected to the Arduino and sketch has been uploaded.
After the sketch is uploaded, make sure to close the Arduino IDE so that the Serial port is free to connect to Python.
Next, open face.py with Python IDLE and press ‘F5’ to run the code. You can also navigate to the project directory in terminal and run face.py code directly from the command line.
It will take a few seconds to connect to Arduino. Then you should be able to see a window streaming the webcam. Now the code will detect your face, and the servos will track it.
You may have to tune the pan and tilt servo range to best suit the coordinates given by Python & OpenCV. Check out the video to see how you can tune the readings for more dynamic control.
If everything is set up correctly, the servos should move as you move. As an added feature, you can mount the camera directly on the servos. Then the mechanism will mimic your movements while you’re looking directly at it.
What’s next?
Want to professionalize your tech hobby? Check out our Robotics Certification program.
It’s designed to help students learn the fundamentals of Arduino and Robotics to be successful with more advanced projects like this one.


79 Responses
Thanks for this piece of code!