

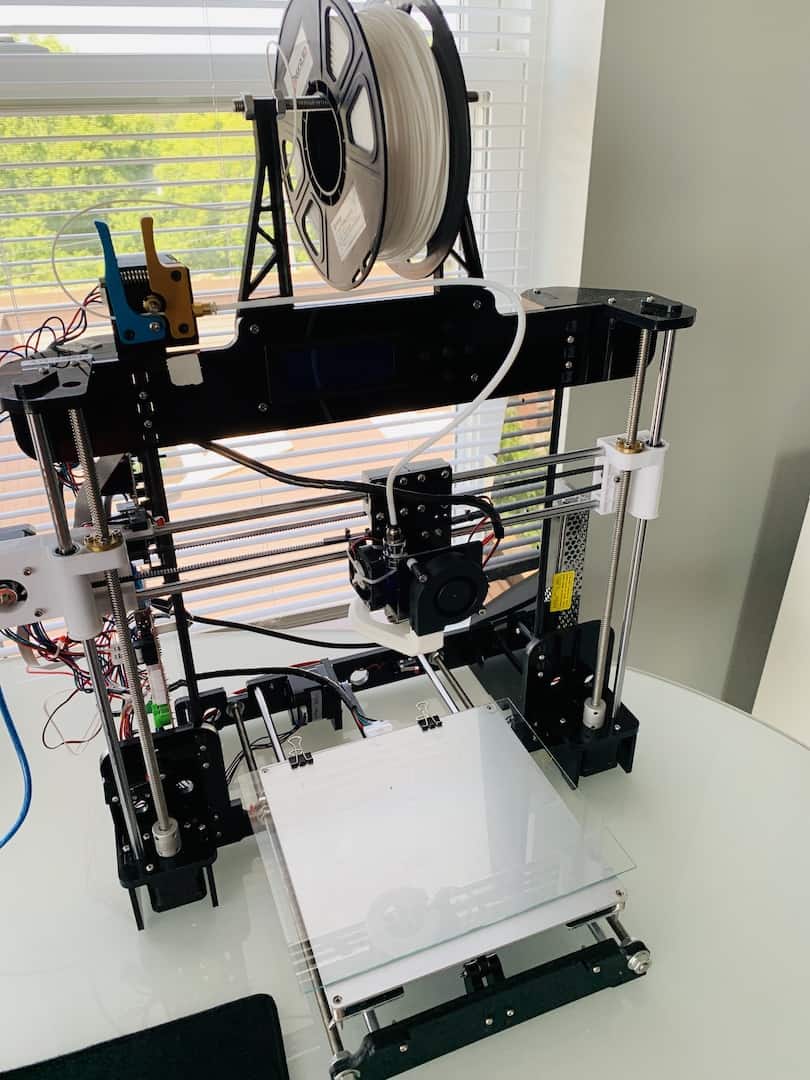
Do you have an Anet A8, but you’re not sure how to get started?
Well, you’re in the right place. In this article, I’m going to show you how to get started with your Anet A8 3D printer. A lot of these steps translate over to other 3D printer kits as well.
Let’s get to it!
Before you start 3D printing
It’s important to verify that your wires are properly connected. This is especially important if you have a 3D printer kit (like the Anet A8). Check each of the connections, starting at the AC input on the power supply and tracing the wires over to the A8 motherboard.
Verify that the Hot (L), Neutral (N), and Ground (⏚) wires of your power switch are connected to pins 1, 2, and 3, respectively. Then check any fuses, MOSFETS, and heating elements (hotend and heatbed cables).
Level the Heat Bed
Next, it’s time to level the heated bed. Use a level to measure diagonally, horizontally, and vertically across the heat bed. Adjust the bed screws to make sure the sides are level. If you’re using a build plate or glass bed, attach this before doing your leveling. You want to make sure the bed is level relative to the printing surface.
Tip: If you’ve never printed on a glass bed before, you can take the glass panel out of most 8.5”x11” photo frames and attach it with a couple of binder clips.
Once the bed is level, turn on the 3D printer and “home” the Z-height. If you’re using the Anet A8 LCD, go to Quick Settings > Home All.
Then, you’ll need to disable the stepper motors. Go to Quick Settings > Disable Stepper.
Set the Z-height for your 3D printer
Next, it’s time to configure the Z-height for your 3D printer. The Z-height is very important because it determines how close the filament is extruded onto the print. If it’s too high, the print will be stringy; if it’s too low, the layer height won’t print properly. There’s also a greater risk of nozzle jams and clogs if the Z-height is too close to the bed.
Let’s set the Z-height for your 3D printer.
First, slide the extruder assembly on the X-axis track towards the center of the build plate. If the nozzle hits the top of the build plate, then the Z-axis switch is set too low. Rotate the Z-axis threaded rods to slightly raise the nozzle. Next, slightly raise the Z-limit switch. Center the extruder assembly on the build plate.
Then, take a business card and place it between the heat bed and the nozzle. You want the gap between the nozzle and the heat bed to be roughly the thickness of the business card. Move the business card through the nozzle. There should be some resistance without extra space.
Once the Z-height is set, it’s time to preheat the printer.
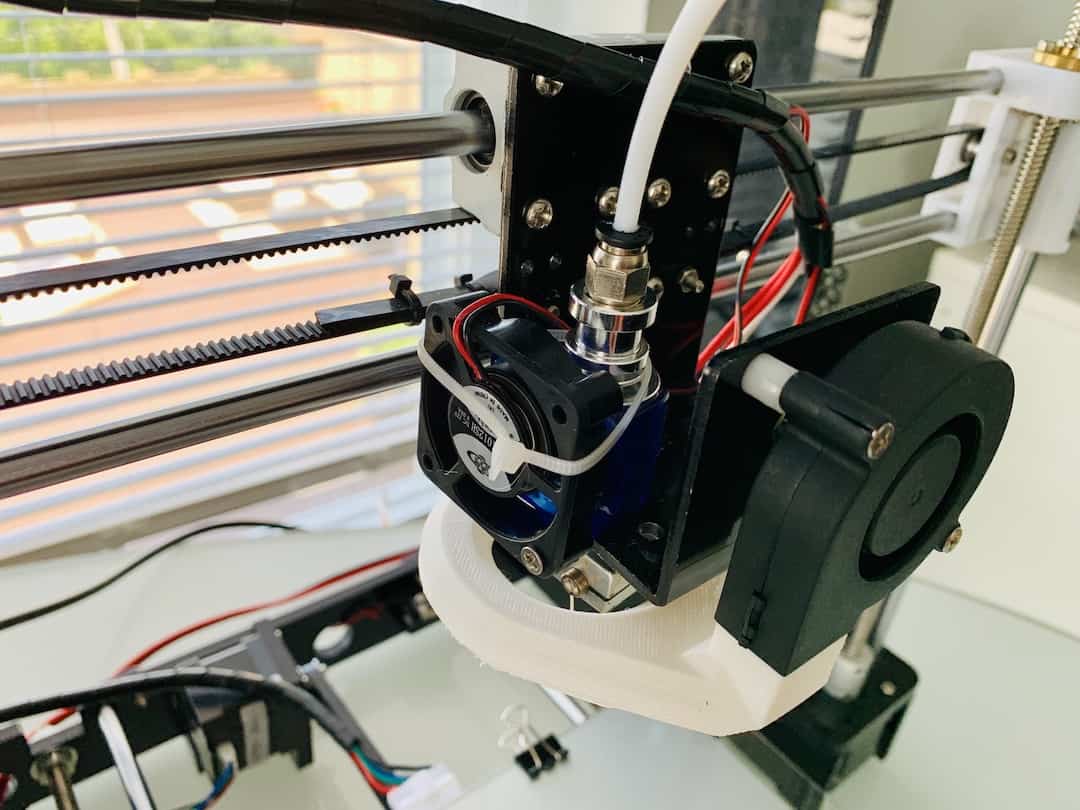
Preheat your 3D printer nozzle
Your 3D printer nozzle must be properly assembled before preheating. Check the packaging for hotend temperatures. 200-205 deg C for PLA and ABS works well.
Wait until the nozzle reaches temperature before trying to load or unload filament. This is important because you can break the filament inside the heat tube or nozzle (and it’s a pain to get out).
Once your printer is at temperature and filament is loaded, extrude a small amount (either by manually feeding the filament through or by triggering the extruder motor).
Now, you’re ready to create and add your file to the 3D printer.
Configure 3D Slicer Software
3D printer files, or GCODE, are generated in Slicing software. I’m partial to Cura, but you can use any slicer of your choosing. Slic3r and Simplified3D are some other great options.
You can also choose to configure a 3D printing utility, such as OctoPrint and Astroprint, which will add wireless capabilities to 3D printer kits like the Anet A8. I’ve configured Astroprint on my Raspberry Pi 3 B+, and it works great for print monitoring, file transfer, and enhanced usability.
If you’ve never used Cura before, you’ll need to create a Printer Profile. This is essentially the settings for your 3D printer. I use the Prusa i3 settings because the Anet A8 is a clone of the Prusa i3. These can be further customized if you like.
Create a 3D printer file
Go to Settings > Printer > Add Printer. If you’re using a 3D printer kit (like the Anet A8), then go to Other > Prusa i3. Cura has a lot of profiles built-in, so it’s worth checking to see if your printer is on the list.
Now, we’re ready to build our file for 3D printing. To create a 3D printer file, you’ll need an STL model. Whether you designed your model in CAD or downloaded one from of Thingiverse, you can use these steps to generate GCODE.
I’m going to use a model of the Learn Robotics keychains to show you how I configure settings in Cura. Feel free to download a copy of this file and follow along!
Here’s your download! Download Learn Robotics Keychain (.STL)
Import the STL file by going to File > Open File(s) or dragging and dropping the STL into the printer window in Cura. Then, set the Profile to Draft Quality (0.2mm) is the default. Next, configure the Infill Density (20% is standard). Anything higher will result in a more rigid print. Set the hotend temperature to 200-205℃ and the heat bed to 40-80℃
Determine if your print needs support structures to help with overhang. This is usually only required if the printer nozzle needs to print a feature that’s “floating” away from the build surface.
Lastly, set your build plate adhesion option. I typically choose a skirt but you can play around with brims and rafts. Build plate adhesion isn’t needed if you have properly prepped your build plate. I’m a huge fan of glass with a layer of washable glue stick.
Press the “Prepare” button in the bottom right corner. Cura will slice up your file using the settings you provided. Then, it will tell you how long the print will take. If you modify settings, you’ll have to press the “Prepare” button again. Once you have settings that you like, press the “Save to File” button. Save the file to a local disk, SD card or USB drive. Then, move the file over to the printer.
The Anet A8 uses an SD card by default. Copy the GCODE file to the Anet A8 SD card, then place it into the motherboard. Press the Center button. Go to SD Card > Mount. Click on “Access File” in the menu. Select the file you want to print.
The printer will start printing once the hot end and heatbed are at the temperatures set in your file. I recommend watching the first few layers to make sure you have proper bed adhesion. It’s important to watch your printer and make sure it’s performing properly.
How to 3D Printing Checklist
I compiled these steps into a nifty little checklist that you can print out and set next to your 3D printer. Enter your email below to download this awesome checklist!
Here’s your download! Download 3D Printing Checklist (.PDF)
And, if you enjoyed this article, be sure to bookmark it for future reference.
Have a question? Leave them in the comments section below. I’m excited to see what you print!


