

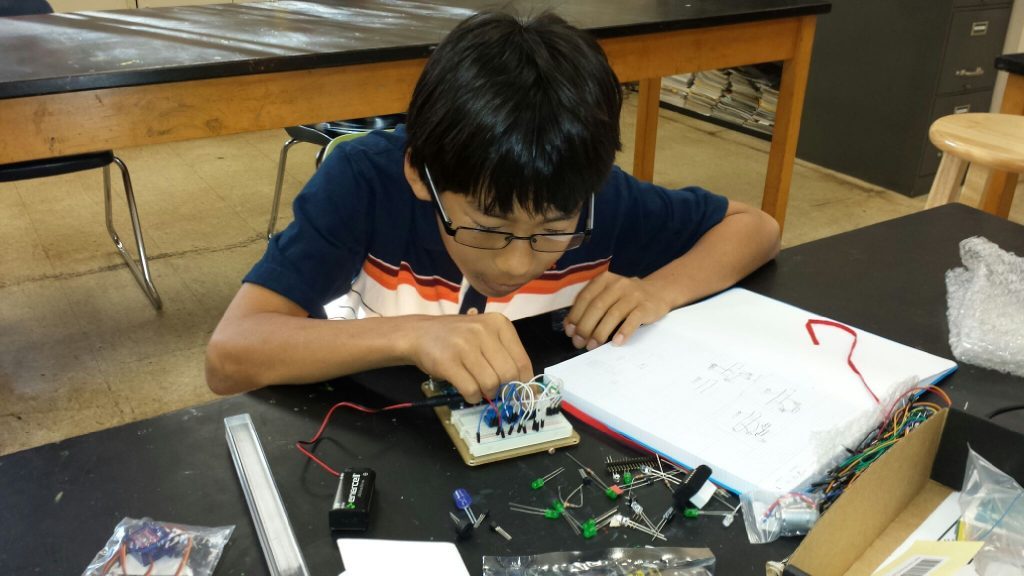
At least once a month, I have someone ask me, “how do I teach electronics and robotics classes without laptops or computers.” While you might think it’s next to impossible, I’ve developed a comprehensive set of lessons around simple circuits and electronics that will cost no more than $150 for a classroom set (10-12 students).
So, if you, too, had this question, and are looking to provide quality electronics and STEM education without needing a classroom set of computers, you’re in the right place. In this article I will outline strategies I use in my workshops and youth classes to provide an interactive curriculum without the need for an elaborate budget.
Rather than focusing on activities that require a computer, we will build circuits that require simple components.
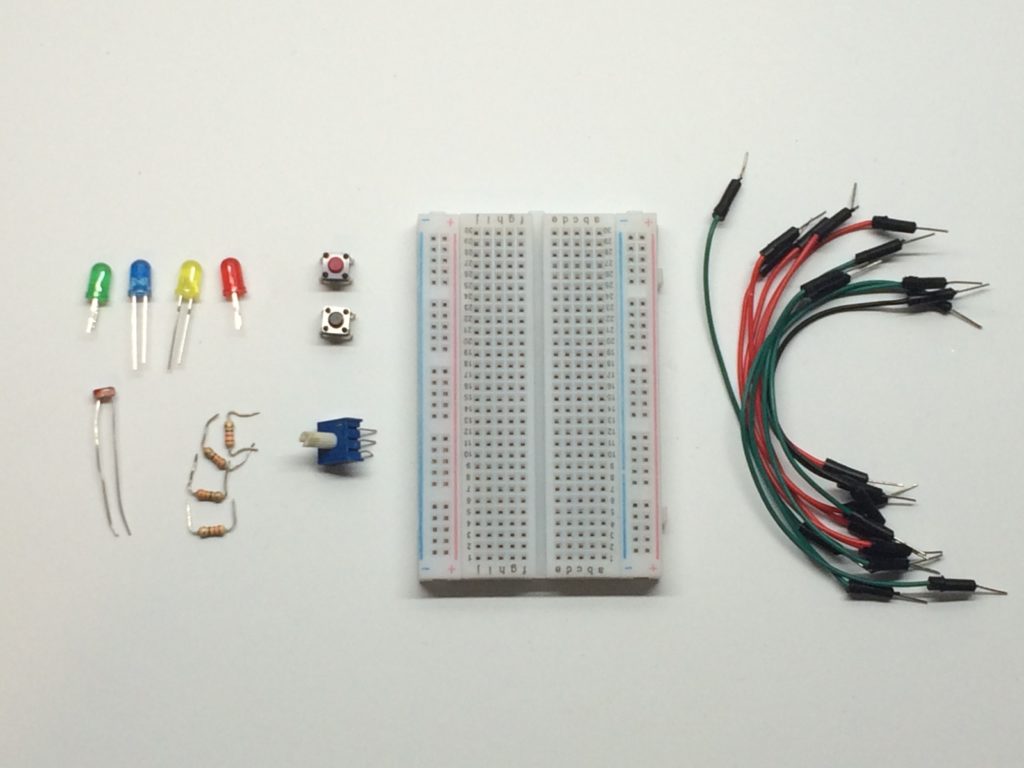
Materials you’ll need for each Electronics kit
First, you will need to gather the following supplies before you can start teaching:
- Battery (AA’s or 9V)
- Battery connector
- Breadboard
- 2-3X LEDs (choose different colors)
- 6X resistors (220-ohm, 10K-ohm)
- 2X Push Buttons
- 1X 5K Potentiometer
- 1X Photoresistor
- 10-15X Jumper Cables (Male – Male connector)
Where to buy
You can gather these materials using Amazon, Digikey, or Adafruit. I’m also in the process of selling the Learn Robotics, Create Electronics kit, which includes all of these components in one nice bundle. If you’re interested in getting a LR Create Kit (retail at $14.99-$29.99 per kit), please fill out the Pre-Order Inquiry Form. If there’s enough interest, I will launch Create Kit Pre-Orders in the LR eStore in the Spring of 2018! Filling out this form does not lock you into buying at kit; it just provides me insight as to who’s interested.
Types of Projects We’ll be Creating
What do I mean by “simple circuits”?
For the purposes of this article, when I say “simple circuits,” I mean electrical connections that work without programming. Don’t think that this lesson is any less important than the lessons with programming and coding; your students will learn the fundamentals of breadboarding and electronic circuits in an applied setting. If you’re a physics teacher, these lessons are a great application of Kirchhoff’s Laws and Ohm’s Law. Bring those circuit drawings to life without the added complexity of learning programming logic and syntax.
The types of electronics projects that we can complete without a computer:
- Turning on a single LED and then multiple LEDs
- Controlling LEDs (on/off) using buttons
- Adjusting the brightness of an LED using a Potentiometer
- Mapping the brightness of a room to the brightness of an LED using a photoresistor
Basics of Breadboarding & Building Circuits
I won’t go in-depth in this article on how to use a breadboard, but I will give you a couple of pointers to get you started.
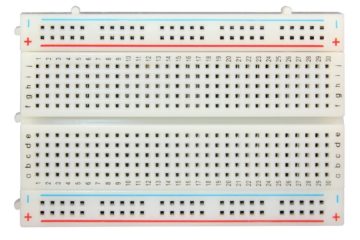
- The breadboard is split into two sides by a channel running through the middle.
- There are two separate power/ground rails. Power is red, ground is blue or black. Power/ground rows are connected.
- Each numbered column is its own connection. When in doubt, Different number, Different connection. Same number, Same connection.
If you need extra information about creating your breadboard circuit, please read my article, Simple Guide to Breadboard Wiring. I explain everything you need to know about breadboards in that article.
Translate simple circuit diagrams into the REAL WORLD
Remember those circuit schematics you used to solve in 8th grade science?
Again, physics teachers, you may have the upper hand when implementing this curriculum in your class. If you’re not a physics teacher, don’t worry; simple circuit diagrams and schematics can be found on the internet for free. Here are a couple that you can use, below.
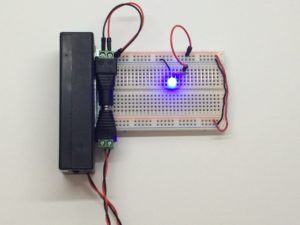
- Diagram #1 – Turn on an LED
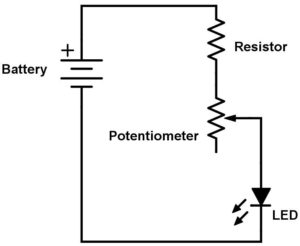
- Diagram #2 – Control the brightness of an LED


- Diagram #3 – Turn on an LED with a Button

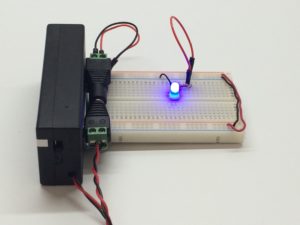
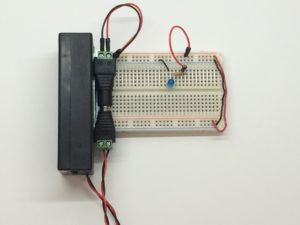
I recommend starting with an easy circuit, like turning on an LED (Diagram #1) and then building upon that circuit with more complex components. For reference, I’ve included a picture of what the breadboard looks like for Diagram #1. Note: I used a 7.4V battery pack for this example.

POLARITY MATTERS – READ THIS!
Remember, LED’s and batteries are directional, meaning, you MUST connect the positive and negative sides, correctly. The polarity of an LED can be determined by looking at the bulb; the Negative Side (Cathode) is flat and the Positive Side (Anode) is curved. The polarity of a battery is determined by the positive and negative markings on the battery or battery pack.
Double & triple check your connection before applying power to any circuit.
Teaching Electronics without a Computer is Easy to do
In conclusion, teaching electronics without a Computer is fairly easy to do. If you have the materials and a solid understanding of breadboarding and circuit diagrams, then you should be able to use your creative flare to enhance your STEM classes.
With a little guidance and practice, you’ll be well on your way to deploying an interactive STEM class on an affordable budget. And if you’re new to the world of STEM and electronics, I highly recommend picking up the materials listed above and working through the three example circuit projects.
Have a question? Get in Touch!
If you have any questions as you’re trying out these projects, leave a comment below. You can also tweet me (@lizmillerfit) or message me on Facebook (@learnrobotics). Click the bubble in the bottom right corner, and I’ll be happy to help!
Want affordable Professional Development Training on your schedule?

If you’re interested in hosting your own Electronics Class without Computers, and would like to work with me 1:1 in a live online lesson, click the button below. I will demonstrate the topics of this article and help you gain confidence to teach electronic circuits in your classroom.
Arrange a Lesson
To thank you for being a loyal reader of my LR blog, use the code ‘NOCOMPUTER’ to save $10 off a 90-minute session. Offer valid through February 28, 2018.
Prices are affordable and lessons can be taken online from anywhere at your convenience. Your session includes a video recording plus lesson notes. It’s a customized learning experience to help busy professionals and educators like you, learn STEM topics in a fun and interactive way!


