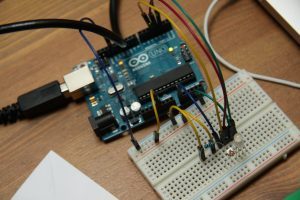
Today’s post is going to be a bit shorter because I’ve created a video walk-through that explains the how-to’s. So if you’re a visual learner, you’re in luck!
Visualize Data using the Arduino IDE
I’ve been working on projects lately where data visualization is very important. So, as curious as I am, I wanted to find a way to easily record and visualize data without having to install 3rd-party software, use an Ethernet or Wifi shield, or write some sort of python code to query and plot my data.
Then, I found out about the Arduino Serial Plotter. The majority of you are probably familiar with the Serial Monitor, which allows us to display data on our computer from the Arduino using print statements.
Well, it turns out that the Serial Monitor has a brother, called the Serial Plotter. And let me tell you, it’s wicked cool. You don’t need anything but the Arduino IDE to use it, which means you already have access to it if you program from this environment.
Subscribe to YouTube
The Serial Plotter works by graphing print statements over time in real-time. So, you can set how many readings per time duration you want (in this video I collect a reading every second), and then it’s plotted on a 2D graph.
You can also plot your own x, y variables, which allows flexibility in case you don’t want to plot over time.
And, for all you math wizards out there, you can also create multivariate plots, which can be helpful if you’re trying to do an analysis between two sensor readings over time.
Go ahead and have a watch at the video, and let me know in the comments below if you knew about the Serial Plotter, and how you’ve used it!
The code from this video is from my post about creating a Light Following Robot, which you can read here.


