

Have you ever wanted to build a robot that you could drive around from anywhere?
In this new “Raspberry Pi FPV” tutorial series, you will learn how to build your own Raspberry Pi robot car and create a First Person View (FPV) driving experience. The first step is to configure video streaming on the Raspberry Pi using the Raspberry Pi camera. Because this project is multi-faceted, I’ve broken it into three mini tutorials:
1) Video Streaming with a Raspberry Pi Robot (this tutorial)
2) Control camera servos
3) Connect everything together & drive the car
If you’re new to mobile robots, I recommend checking out the Beginner Bot tutorials before diving into this project. We will not be going into great detail about the parts of a mobile robot, and how they’re wired and controlled autonomously. You can also check out our Robotics eCourse to gain more in-depth familiarity with mobile robots.
Without further delay, let’s jump into part 1: Video Streaming with a Raspberry Pi Robot & Camera.
Video Streaming with Raspberry Pi Robot
First, we will need to write software for our FPV robot car and control it using our web browser. The goal is to use both local and external network connections and control the robot from anywhere! Here’s what it’ll look like.
[youtube v=”YRIwRyXayUo”]To complete this project, you’ll need a mobile robot chassis, motor controller, battery pack, Raspberry Pi (Zero W or 3 B+), and a camera module. You can also pick up the Raspberry Pi Robot car kit to save yourself trouble of finding all the parts.
The next step is to configure the Raspberry Pi and camera module. Instead of using Arduino, we’ll use the Raspberry Pi to host our software. We’ll also use an online platform called RemoteMe, to capture and stream live video from the camera.
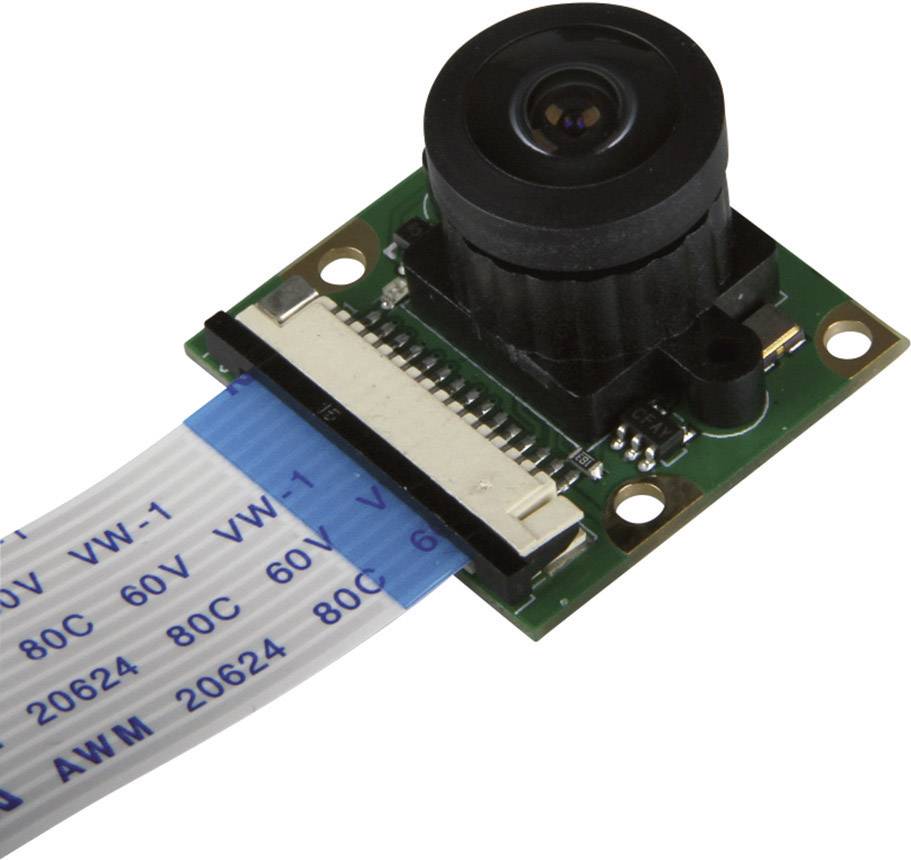
Attach the Raspberry Pi Camera
You can connect the ribbon cable from the Raspberry Pi Camera to a clip connector on the board. The board I used is the Raspberry Pi Zero W with a 5MP Camera module (note that you will need a special cable to connect the camera to Pi Zero). You can also use a Raspberry Pi 3 B+ if you’d like.

We will use the WebRTC protocol for video streaming, which allows an image from the camera to be transmitted almost without any delays to the web browser. This works even if the web browser and Raspberry Pi are running on separate networks. For example, we can test this with a browser running on a mobile phone using mobile internet. I recommend using the Chrome browser, especially on a mobile phone, because it has the best WebRTC support implemented.
As of right now, WebRTC does not support both audio and video, so the streaming will be visual only. I would like to thank Lyu Keun Chang for the sample implementation code of WebRTC on the RPi website.
Use RemoteMe to Control Raspberry Pi Robot Car
The user’s actions are sent via the same transmission channel—eg clicking a button on the side next to the video. Thanks to this, delays in the transmission of events are minimal and allow us to control the Raspberry Pi robot with video preview.
To fully understand the software system for this project, you’ll need to understand the RemoteMe IoT platform.
RemoteMe has database connected to your account so you can store your measurements and display them on the web page. It also has a web page generator so you can easily add components to the web page even if you don’t know HTML. In addition, you can generate ESP8266 and ESP32 programs to implement IoT projects on the fly. Plus, you can control your projects directly from the website. RemoteMe provides free space for your pages. This allows users to communicate with devices over the Internet.
For this project, we’re utilizing one of the most important features: video transmission. It allows us to take images and video directly from the Raspberry Pi camera and send them directly to the browser with less than 10 minutes of work. It’s a really great feature if you’re trying to create a quick prototype.
I recommend going to RemoteMe and signing up for an account. This will allow you to prototype and play around with all the features and learn more about it.
Now, let’s configure RemoteMe for our Raspberry Pi Robot.
Raspberry Pi Software Configuration Installation
The RemoteMe program on Raspberry Pi automatically supports the transfer of video from the webcam. Before moving on in this tutorial, you’ll need to follow the steps on the RemoteMe website to configure the camera.
Display the Raspberry Pi Camera in Browser
First, create a new website. Navigate to the Devices Tab -> New Device -> New Web Page.

Enter the name and deviceId. It is important that you select the component componentStarter and add by clicking submit. Learn more about the website here.

Next, edit the index.html file by clicking on it and selecting “Edit with wizard.” Then click the Insert component. In the window that appears, choose Component camera. Here’s what it should look like.

Additionally, you can add another component status with configuration websocket on and camera on. This will help you see the status of the connection and restart video preview if needed. Learn more about RemoteMe components in the documentation.
After inserting and closing the window, open “index.html” in a new tab. If the Raspberry Pi and the web browser are launched on the same local network, we will see the image from our camera in the browser, as shown below.

If the devices are on different networks, then proceed to the next steps. Otherwise, congrats! You’ve finished part 1 of this project! Scroll down to learn more about the next steps in building our FPV Raspberry Pi robot car.
Raspberry Pi & Browser are on Different Networks
If our local network is behind NAT, it will be necessary to add a TURN server for proper display of the image. After using several servers, I recommend the xircys turn server. It allows adding a free server TURN (with some limitations)
After logging in, add a connection channel.

The credentials for our turn server can be found in “Static TURN Credentials”:

Then, paste them into the “webrtc_streamer.conf” file. To do this, click on the webrtc_streamer.conf file and select the edit option.

We complete the file by entering data from the xirsys system. After pasting, the file should look similar to:

For the turn server, you should choose the one with port 80 and UDP protocol. Once you’re done, save and restart the program on your Raspberry Pi.
Then, switch off the WiFi connection on your smartphone so that you’re using cellular data. We’ll use a QR code to save time writing the web address.
To do this Click on index.html -> get anonymous link -> click on the QR code icon. Scan the QR code with your phone and open up this web page. You should see a real-time camera stream from the Raspberry Pi robot car. Once you have this working, you’ll be ready for the next tutorial.
Raspberry Pi Robot Car Servo Control
In the next tutorial, I’ll show you how to control camera servos from the browser. Then, we’ll be ready to connect everything together and drive the robot from anywhere!
Drop your email below to get updated when the next Raspberry Pi Robot Car FPV tutorial is released!
[ id=”5598″]And, if you enjoyed this project, be sure to share it with a friend!
This article was powered by RemoteMe. Check out the RemoteMe Facebook page for more information. If you’d like to support the projects we publish, feel free to buy us a Coffee.


