

In the previous tutorial I shared a beginners guide to get started with Raspberry Pi. In that article I covered how to burn Raspbian OS onto micro SD card. Now to use the Pi as a computer we need lot of other peripherals such as monitor, HDMI cable, Wireless keyboard, OTG adapter (for Pi Zero).
Most of the time, we don’t need these peripherals after the first boot. If you want to save some money (or would rather develop on your host computer), you can use the headless mode to connect and work on your Raspberry Pi without a monitor.
In headless mode, you can access the Raspberry Pi over a wireless network using Secured Shell protocol (SSH). Let’s see how to enable SSH on a Pi using two different methods.
First Method: After The First Boot (with monitor)
This method is for those who have a monitor and other peripherals. First, install the OS. Check out the article, How to start with Raspberry Pi, for more detailed instructions. After you have successfully burned the OS onto the SD card and booted the Pi, follow these simple steps:
- First, click on the Raspberry icon on top left corner. You will see a drop-down menu, From this menu select “Preferences”. From The second drop-down menu click on “Raspberry Pi Configuration”
- A pop-up window will appear. Select “Interface” tab.
- Next, enable Camera, I2C, GPIO and most importantly SSH. These are the features we will be needing in most of our projects.
- Now the Pi is ready to to be controlled without monitor and keyboard.
Second Method: Raspberry Pi Without Monitor
This method connects to the Pi without a monitor. It’s actually pretty easy to enable SSH without a graphical interface. Here’s how it’s done:
- First, install the OS onto the SD card as shown in the previous tutorial.
- After the OS is installed, don’t unplug the card but open the boot partition.
Note that Windows may ask to format the boot but just cancel it. DO NOT FORMAT THE PARTITION. - In the boot volume you will notice a list of files and folders. Do not edit or delete anything from the files already present this might cause system failure and you will have to start over again.
- Here we want to add two files: ssh and wpa_supplicant.conf
- First, create the ssh file. This file will enable the SSH so we can connect and control the Pi using PuTTY or other SSH tool.
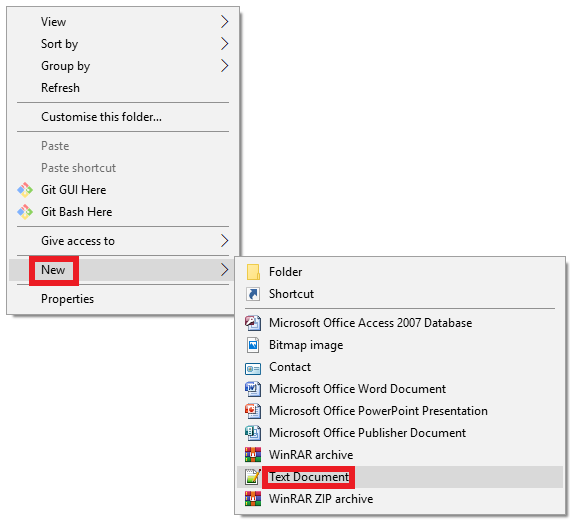
- In the boot volume right click and select “New” from the list click on “Text document.” Name the document ssh and save it without any extension. Make sure you remove the “.txt” extension.
- Next create a new document. Name it “wpa_supplicant.conf”.
Then, right click on the file and select “Edit with Notepad”. Add the following script:country=IN ctrl_interface=DIR=/var/run/wpa_supplicant GROUP=netdev update_config=1 network={ ssid="Your WiFi network name" scan_ssid=1 psk="WiFi password" key_mgmt=WPA-PSK } - Now in the script you have to make some changes. In the first line country=IN , I wrote IN because I am from India, and the ISO code for India is IN. You can find the code of your country from Wikiwand. Next add your ssid which is nothing but your WiFi name. Also add psk which is your WiFi password. When you’re finished, be sure to save the file.
You should have two files like:

Now eject the SD card and insert it into the Pi. Power up the Pi and wait for a few minutes.
SSH into the PI
Before we can SSH into Raspberry Pi, we need to know the IP address of the Pi. To find the IP address I prefer using an app called Fing. It is available for both Android and iPhone.
To find IP, make sure your smartphone is connected to the same WiFi network and open the Fing app.
In the app you will see a list of devices connected to the router.
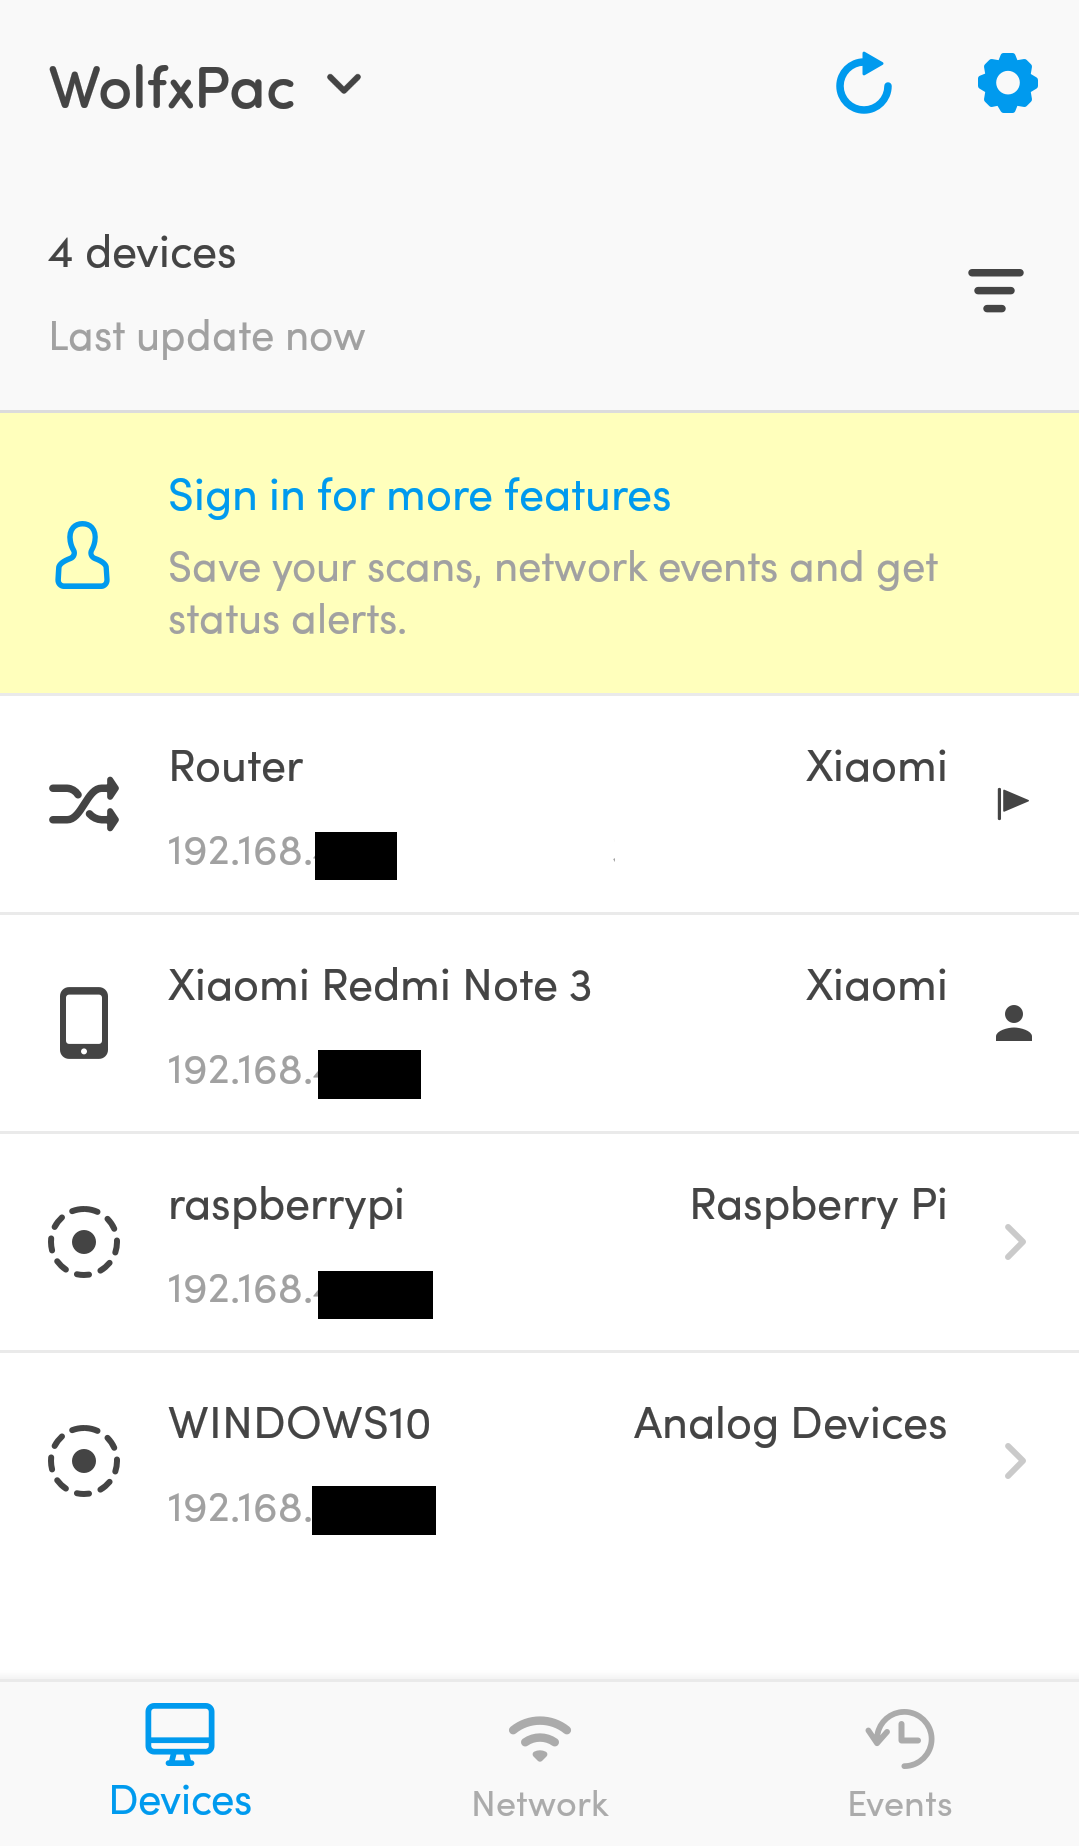
Note the IP address of raspberrypi. We will use this to establish a connection.
Now, we will connect to the board using SSH. If you are using Windows, I recommend using PuTTY. Just download and install it as any other application.
For Linux users, SSH is already available. Just open up a terminal window, and type the command “ssh” to see if it’s working.
SSH using PuTTY For Windows Users
- First power up the Raspberry Pi using a 5v power supply. It should connect to your WiFi network within a couple of minutes.
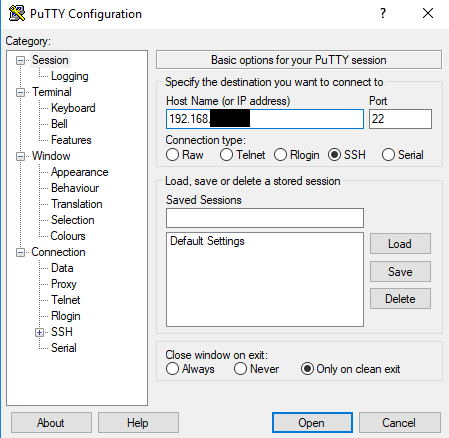
- Now open PuTTY and enter the IP address of Pi and click on “Open”
- In a few seconds a window will pop-up where we have to enter the username and password. The default username is “pi” and password is “raspberry”. Note that you cannot see password in the terminal so type slowly or you will keep getting “Access denied”.
- After successfully logging in we will see a terminal window as below:
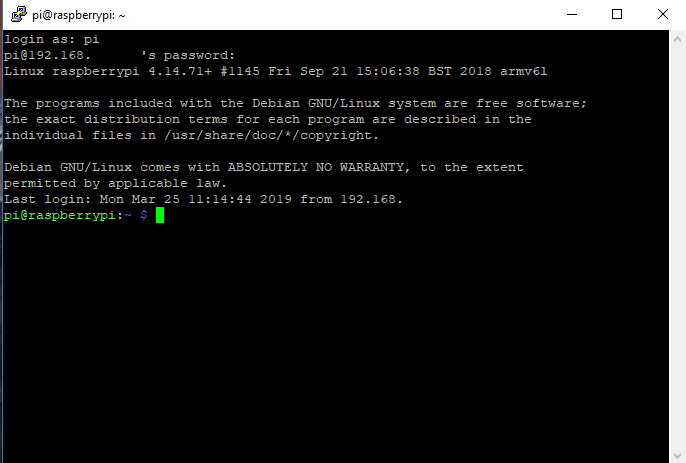
- Now you can connect to your Raspberry Pi using SSH! You can say goodbye to that extra keyboard, mouse, and monitor!
For Unix Users (Linux and macOS)
To create SSH connection in Linux, open terminal and enter the ssh command.
ssh [email protected]
Here you will add your IP address and hit enter. Next, you’ll be asked if you want to connect to the device. Type y. Then you will be asked to enter the password, type in the default password “raspberry”.
Raspberry Pi Secure Connection
Finally, you’ll need to create a secure connection. The Raspberry Pi boards have same username and password by default. Therefore, it can be vulnerable to hackers. To prevent any unauthorized access to our Pi, we will change the default password.
To change the password:
- Type passwd and hit enter.
- You will be asked to enter the current password for authentication. Enter the default password raspberry and hit enter.
- Now you will be asked to enter new password, here enter a unique password with a combination of alphabets, numbers and special characters. When you type the password, nothing will be displayed on terminal, so make sure you type slowly and correctly.
- After you enter new password, you will be asked to confirm the password. Here type the new password again and hit enter.
- A success message will be displayed on terminal:
passwd: password updated successfully
This indicates that the new password is applied.
This process will make the Pi secure. If you want to learn more about Users and Passwords check out this post on Raspberry Pi’s official website. It will give you more in depth instructions.
Final Note
Now you are ready to use your Raspberry Pi with SSH. In next tutorial, we will see how to use the GPIO pins on our Pi to control LEDs.
Check out my ebook “Mini WiFi Robot” if you haven’t already. It will take you through all the steps to design your own custom robot.


6 Responses
Very good Thanks. I would like to see a headless connection over RJ45 wired network. Don’t have wireless on my Pi.
Very good Thanks. I would like to see a headless connection over RJ45 wired network. Don’t have wireless on my Pi.
Kevin, you should be able to define the ethernet configuration in the
/etc/network/interfacesfile.Here’s a good primer on what I mean. Once you have established your network address – either with a static IP or an assigned one, you can use that IP address to SSH into the pi without a monitor. You can also use the hostname which is raspberrypi.local by default.