

Do you have multiple Arduino sketches that you’d like to merge into one?
Then you’ll want to stay tuned for this tutorial!
I had a question come in this week about combining Arduino sketches. And for those of you who have never done this, you might be very pleased to know this is actually pretty easy.
This tutorial assumes you already know what Arduino is, how to create a sketch, and run code on your board. If you haven’t built anything in Arduino, then this tutorial won’t make sense. I recommend checking out our Four Steps to Writing any Arduino program tutorial, first, before diving into this one.
One thing to note, before we begin, this tutorial does not take into consideration multiple threads or simultaneous events. I will create a tutorial on how to do that in the near future. We will just look at migrating methods from one routine to another and verifying systemic integration.
Merge two Sketches into one
For this example, we will add music to our Animated Skull conditionally. It’s past Halloween, but that’s okay! Maybe you’re the kind of person who likes to keep decorations up until Thanksgiving!
We have one sketch that controls the music for the Skull and another sketch controls the sensors and servo to move the head.
Grab a copy of both of these sketches and follow along.
Here’s your download!
First, open a third blank sketch and call it “Merged-Skull.ino”. We will compile contents from the previous two files into the merged file. I recommend doing it this way rather than taking content from one sketch and putting it into the other. This is because you could run into compiling problems or functionality problems when the code is transferred. If you have the original files to work from (and they both work independently), you can always go back to the beginning and start fresh. Mixed code gets ugly, so having a clean start is beneficial.
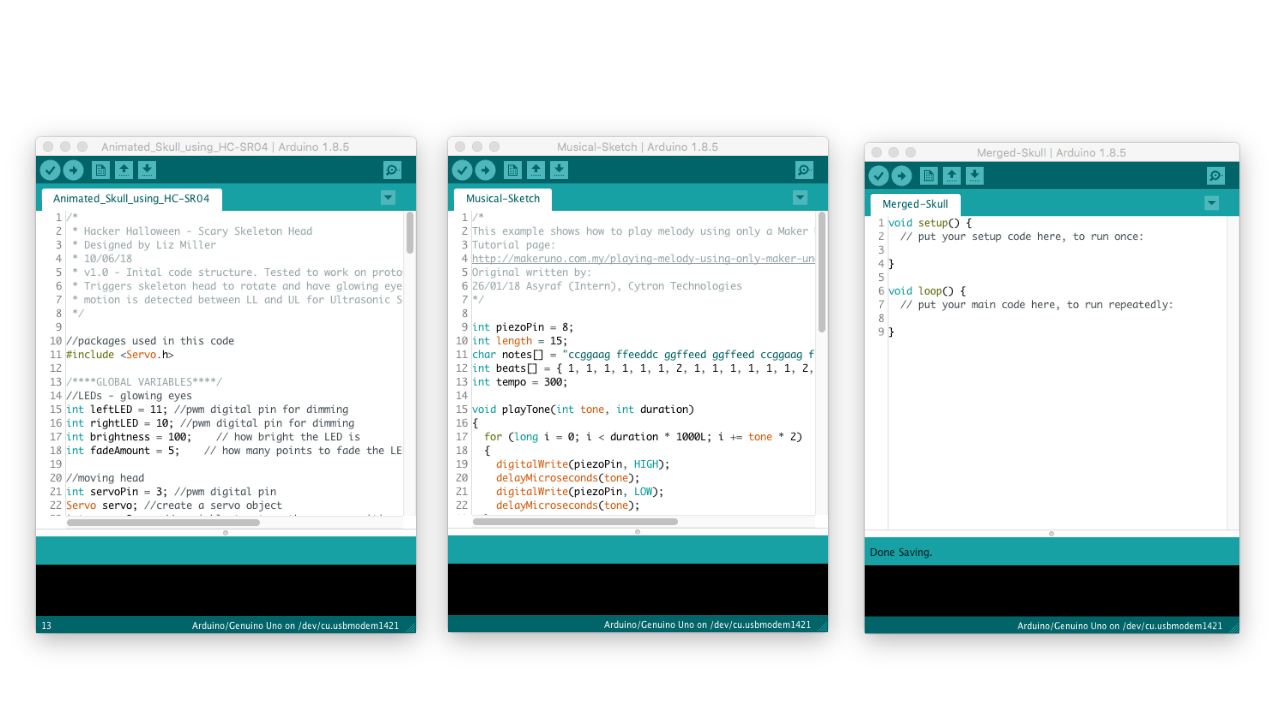
To begin, we’ll start top to bottom and transfer global variables, setup() and other custom methods to Merged-Skull.ino.
Next, we’ll copy the contents of the loop() method from Musical-Sketch.ino and paste it into a new method called playSong().
Finally, we’ll call playSong() wherever we want the song to play. Note that this will be a sequential task, so the song will have to finish before we go back and check to see if someone has triggered the ultrasonic sensor. There are ways to get around Multi-tasking and threading using the Arduino. I will introduce how to do this in a future tutorial.
When all is done, be sure to compile your code, upload it to the Arduino, and test it out. You’ll want to make sure that your I/O pin wiring matches the pins defined in the code, or it will not work!
If you’re looking for more formalized Arduino Training, be sure to check out our online course, Arduino Prototyping for Beginners. We take students from no experience to knowing how to build, wire, and program custom prototypes. Sound like a good fit? Check it out here.


4 Responses
* I am not a programmer, I’m a ham radio operator
* I find example sketches that do mostly what I am trying to do, then I modify them to get what I want
* I modify the downloaded sketch by commenting out lines that show me errors. I struggle understanding the explination of the program commands
* Now here’s what I would like to do using a Arduino UNO (or nano), a 20×4 LCD display, and communicating to the display using I2C bus.
* I want to make a clock and a RF power meter using the same display.
* I want the RTC clock to be running, and when
* my circuit sense’s a RF signal it reverts to the RF power meter and displays the RF power
* when the RF power goes away it reverts back to the digital clock and picks up the correct time
* I have a clock sketch working.
* I have a RF power meter sketch working
* I have all the circuitry for the RF power detector worked out and I just need to figure out how to
merge the two sketches and have them function using either an “interrupt” or a “while” function.
any help would be appreciated
Tim,
Unfortunately, this is beyond the scope of our blog comments. You can sign up for an individual lesson or feel free to do your own research to create a solution.
Good luck ~Liz from Learn Robotics
Great site