

In this tutorial, I’ll show you how to assemble pan/tilt for Arduino servos. This should take you about 20 minutes to fully assemble. In my next tutorial, I’ll show you how to program these servos using Arduino for manual control using potentiometers & buttons.
How to Assemble Pan/Tilt for Arduino Servos
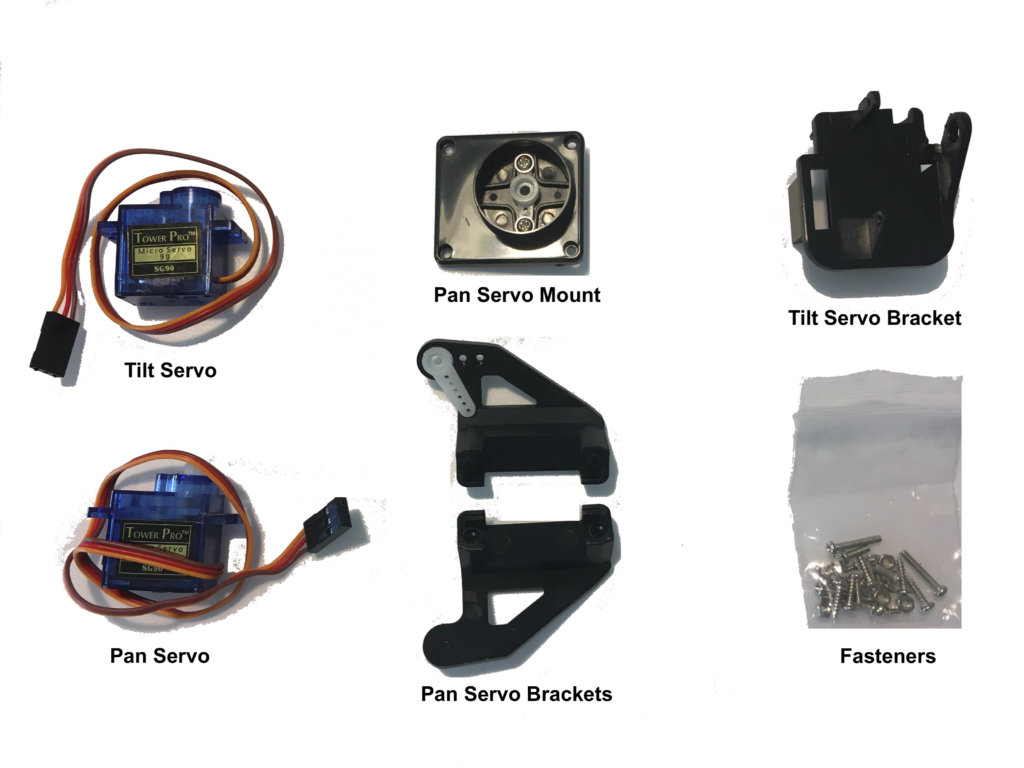
To start off, you’ll need to build the Pan/Tilt Servo assembly. You can choose to build a 9g servo assembly for a smaller payload, or a Mg995 servo assembly for applications requiring greater torque. The assembly will be similar no matter which one you choose. For the purpose of this tutorial, we’re going to use the 9g servo assembly.
Step 1 – Assemble the Tilt Servo
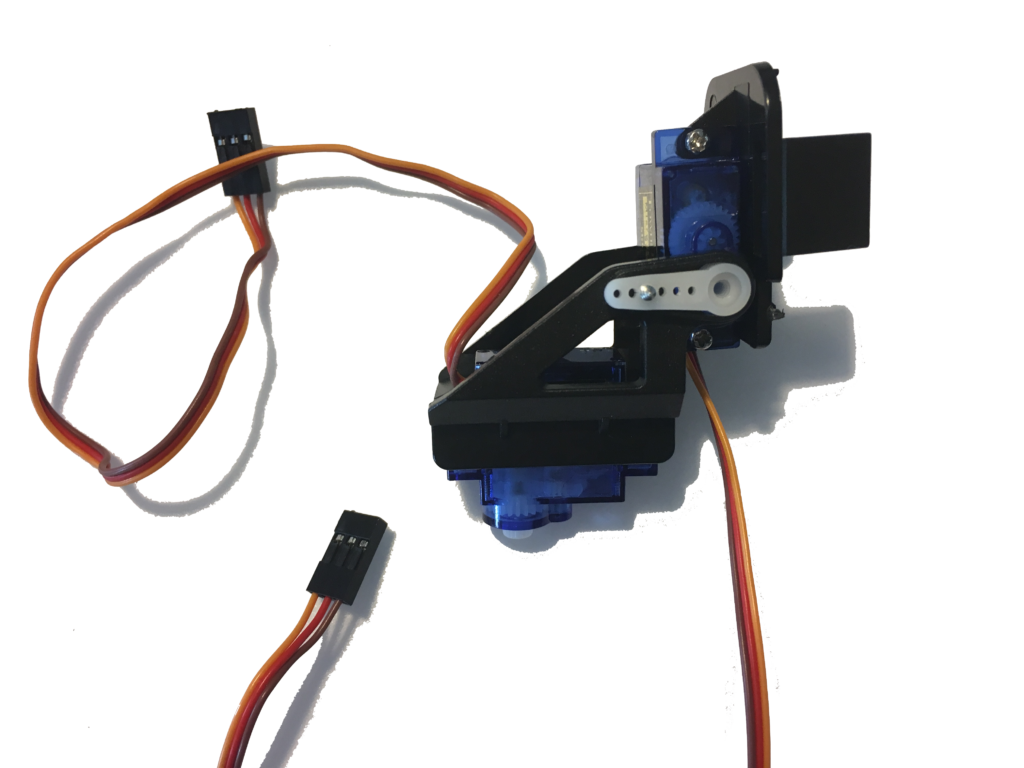
First, grab one of the servos and the pan servo bracket (without the white servo horn). We’re going to assemble the Tilt servo. You’ll also need two long screws and two nuts.
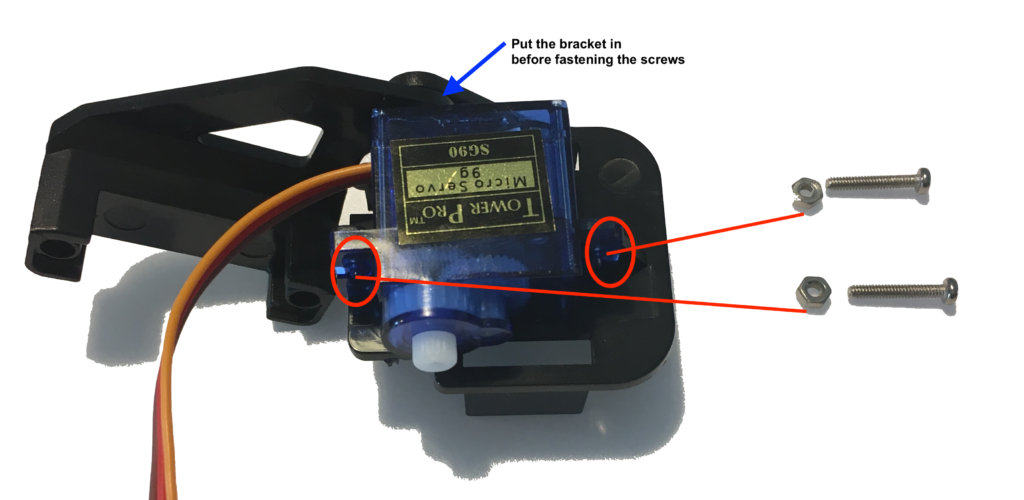
Put the pan servo bracket into the Tilt bracket attachment hole. Then, use two long screws to mount the servo onto the Tilt bracket.
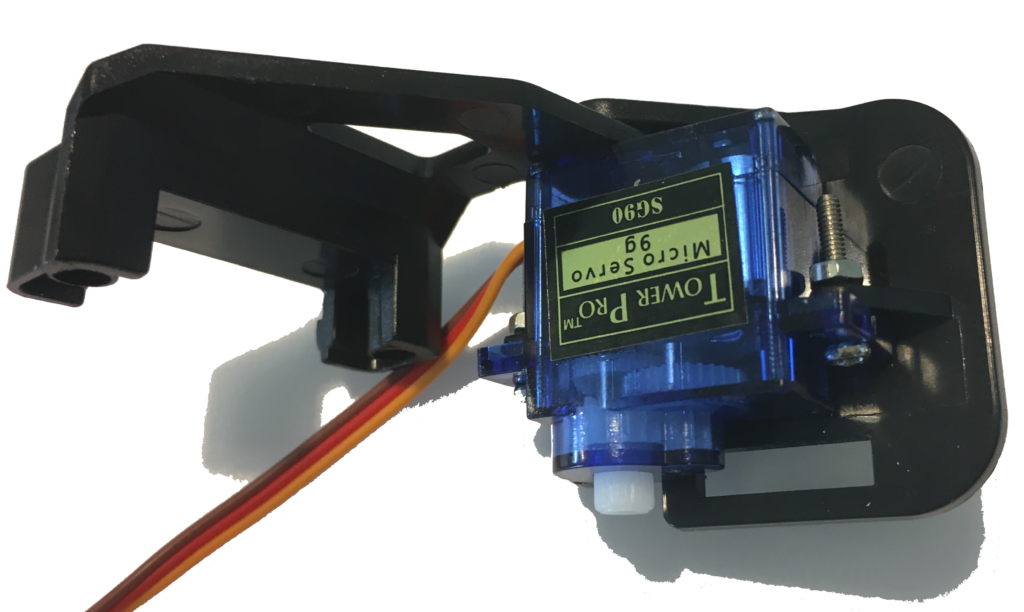
Here’s what it should look like fully assembled.
Step 2 – Install the Pan Servo
Next, grab the second Pan Bracket and attach the small servo horn. This horn will connect to the Tilt servo and allow the mechanism to tilt up & down. Here’s what it looks like assembled.
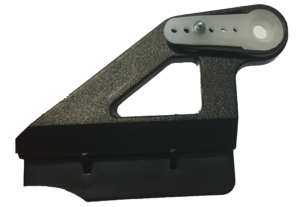
You’ll want to attach the screw so that it’s pointing out. If you have a strong pair of clippers, you can cut the screw so that it doesn’t poke anyone.
Also, the servo horn should be placed so that the Tilt servo can connect on the inside.
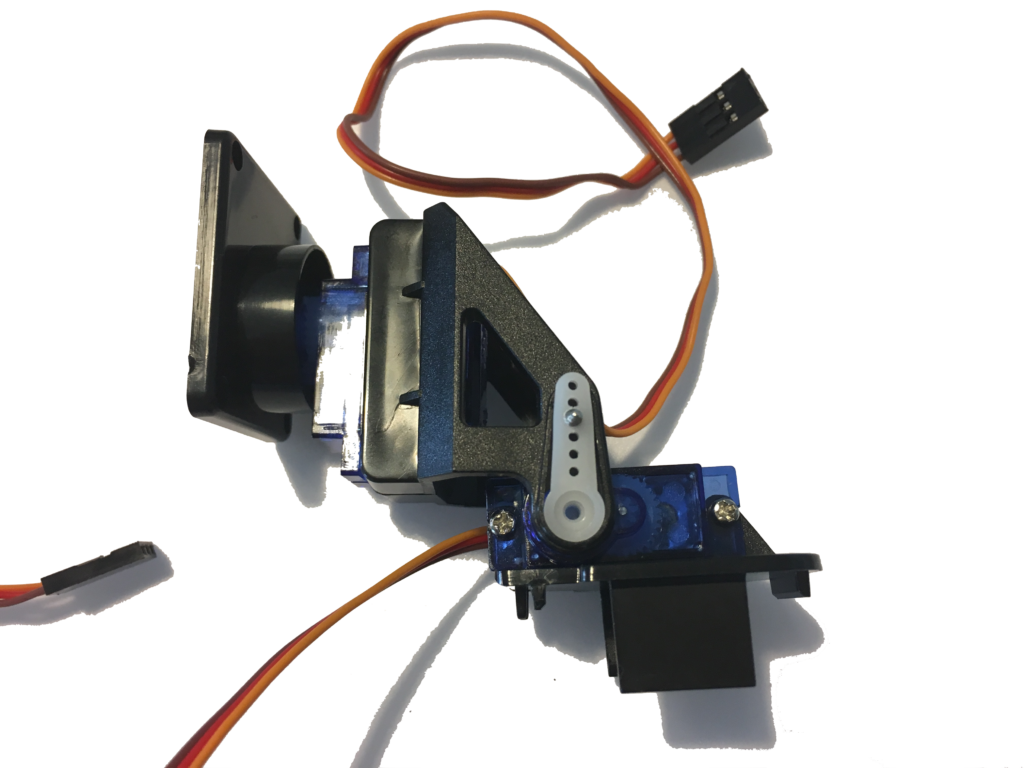
Grab the second (Pan) servo and the assembly from Step 1. put the servo vertically (facing down) inside the first Pan Bracket.
Then grab the second bracket and connect them together. It should be a snap or press fit. Connect the servo horn on the Pan Bracket to the Tilt Servo. You can fasten it down with a small screw, if desired.
This is what the assembly should look like when you’re finished with this step.
Step 3 – Mount the Pan Base to the Pan Servo
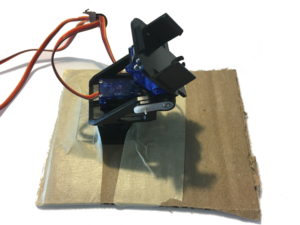
Lastly, connect the Pan Base to the pan servo. Depending on your kit, you may need to install a servo horn on the inside of the base. Verify this step has been done, then mount the base to the servo.
Finally, I chose to mount the pan/tilt servo assembly to a piece of cardboard for easy testing. You can choose to do this or proceed with your pan/tilt project!
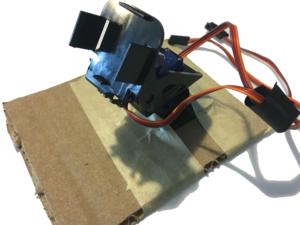
And that’s it! You’re now ready to use the pan/tilt assembly with Arduino. I’ll walk you through jog-control techniques in a future tutorial. If you need help getting started with Arduino, check out the Simple Guide to Arduino programming.
If you have any questions about how to assemble pan/tilt for Arduino servos, feel free to leave a comment below! Be sure to follow Learn Robotics on Facebook & Instagram for more tutorials, courses, and robotics content!


