

Fusion 360 for Robotics Tutorial Series
- Part 1: Create a Robot Base in Fusion 360
- Part 2: Draw the Motor Mount in Fusion 360
- Part 3: Convert Bodies to Components for Assembly
- Part 4: Add Joints in Fusion 360
- Part 5: Generate Drawings, STLs, and G-code using Fusion 360 — You are Here
Once you have drawings, components, and a full assembly, it’s time to get it manufactured. Throughout the Fusion 360 Tutorial series, we’ve looked at how to build a robot arm from scratch. In this tutorial, we’re going to explore manufacturing methods to bring our robot arms to life.
Before we can get into manufacturing, let’s learn more about what manufacturing is and the four primary types of manufacturing.
Download the Starter Code Files
What is manufacturing?
Manufacturing is the process of making something by hand or with the help of a machine. Today, you might think of manufacturing as a process done in a factory. But, with tools and 3D printers available today, you can also manufacture goods from your home.
There are four primary types of manufacturing processes: molding, machining, joining, and shearing and forming. Let’s look at each of these in a little more depth.
Method 1: Molding
One method in manufacturing is molding and casting, which involves heating plastic until it becomes a liquid. Then the liquid is poured into a cast where it cools and sets to form the component. There are four additional types of molding processes including injection, blow, compression, and rotational molding.
Method 2: Machining
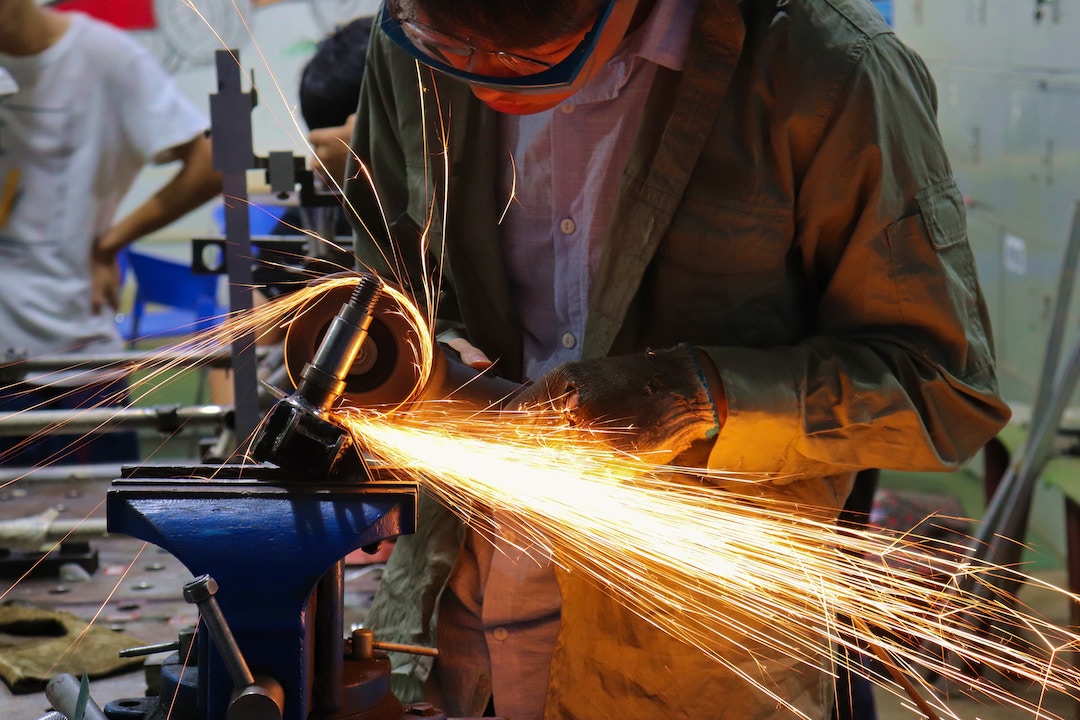
Another manufacturing method is called machining. In this process, a machine or tool is used to carve away at a raw material. Tools such as saws, shears, and rotating wheels are used to cut the part into its desired shape. In factories, there are some processes where the machining is done by hand or entirely by an automated machine.
Method 3: Joining
Furthermore, there’s a manufacturing process called joining. This process takes two smaller components and connects them using welding, soldering, fasteners, or adhesives. You’ll choose the joining method based on the types of parts being joined and the materials they’re made of.
Method 4: Shearing and Forming
The last traditional method of manufacturing is shearing and forming. This type of manufacturing uses blades to cut through sheet metal.
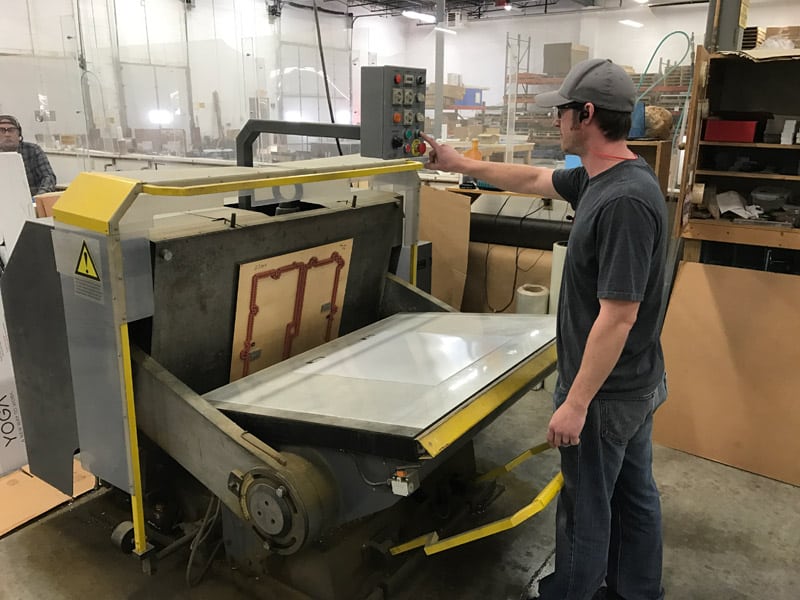
Die-cut parts fall into this category. A die is a specialized tool used in manufacturing industries to cut or shape material using a press. Forming is when a material is compressed into its final shape.
In addition to these primary types of manufacturing, there’s another category that has all the spotlight these days: additive manufacturing.
LATEST: Additive Manufacturing
Additive manufacturing is the category of manufacturing where materials are deposited layer-by-layer onto one another to form an object. Rather than removing part of a material like in traditional machining, components are built up with layers and only require enough raw material to build the part and supports.
It’s a lucrative field because additive manufacturing has a lower cost of entry. 3D printing creates parts in a matter of hours without the lead time or as much raw material as traditional manufacturing.
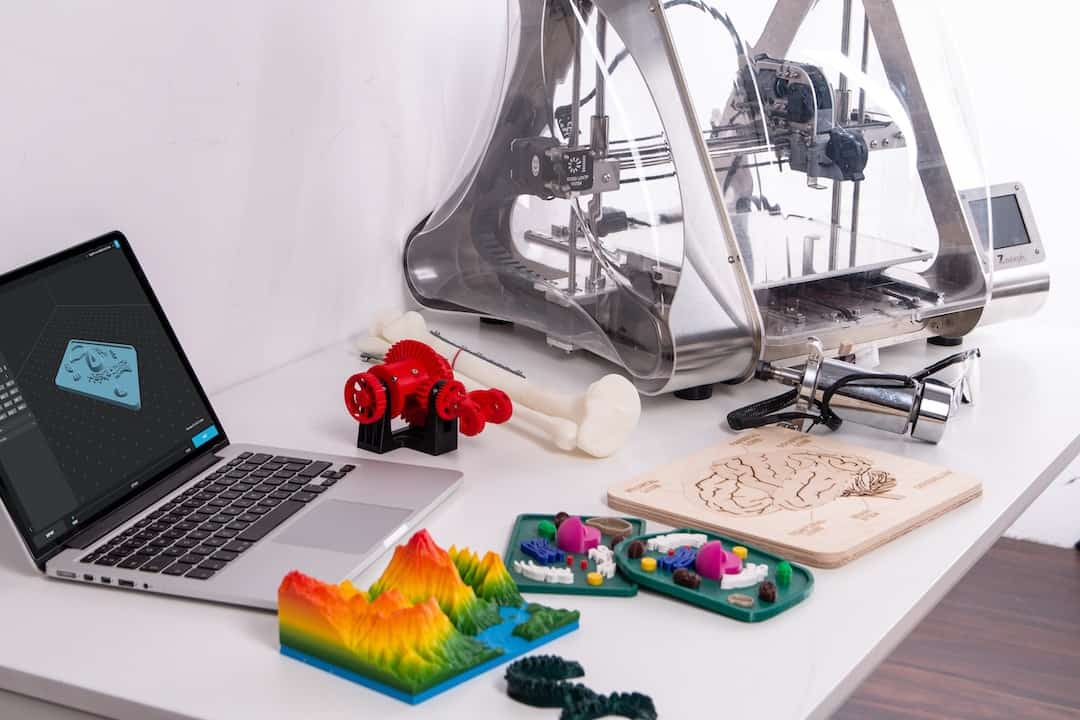
For the rest of this article, we’re going to focus on additive manufacturing using 3D printing. We’ll take a look at FDM (Fused Deposition Modeling) printers and explore the tools within Fusion 360 that make it easier to create 3D prints.
Utilize Fusion 360 Built-in Tools for 3D printing
Fusion 360 is a great option for 3D printing because it has built-in tools for 3D printing. You can always use any other CAD modeling software you’d like and then export the STL file when you’re finished. But, for this article, we’re going to use Fusion 360.
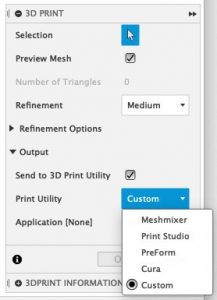 Install a 3D Printing Utility
First, install a 3D printing utility such as Cura, Slic3r, or 3D Slicer.
Make sure you have a design open (and ready to print). Then go to File > 3D print and select the body you want to print. Under the 3D print menu, go to Output, and choose the 3D printing utility.
Cura is a built-in option, but you can choose Custom and select the program you’d like to use. This will automatically launch the 3D printer utility where you can configure the printer settings.
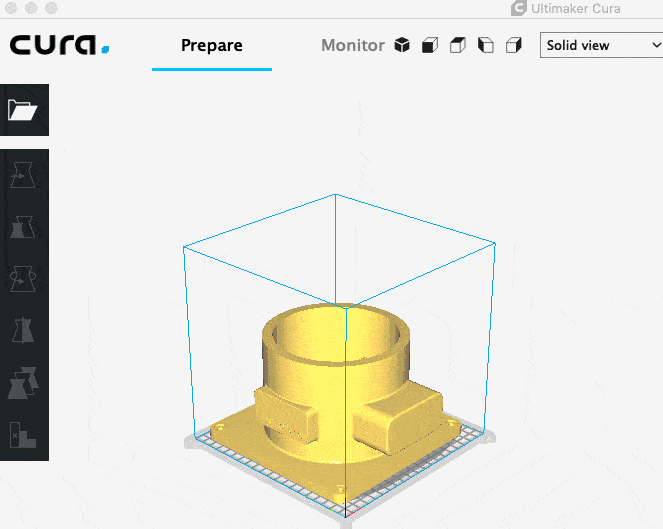
Configure Settings in Cura
I’ve been a big fan of Cura from the start of my 3D printing career. If you haven’t checked it out, I recommend looking into it. Cura is a slicer by Ultimaker and it has a lot of popular 3D printer profiles already built-in.
If you’re new to 3D printing, the configuration can be a little confusing, so I’ve put together a short video outlining the parameters you’ll need to adjust. Fusion 360 will automatically launch the printer utility (if it’s properly configured).
Don’t forget to Subscribe to the Learn Robotics YouTube channel for more awesome tutorials like this one!
- First, you’ll need to set the Profile to Draft Quality (0.2mm), which is the default.
- Next, configure the Infill Density (20% is standard).
- Then, set the hotend temperature to 200-205℃ and the heat bed to 40-80℃.
- Determine if your print needs support structures to help with overhang. This is usually only required if the printer nozzle needs to print a feature that’s “floating” away from the build surface.
- Lastly, set your build plate adhesion option. I typically choose a skirt but you can play around with brims and rafts.
- Press the “Prepare” button in the bottom right corner. Cura will slice up your file using the settings you provided.
- Once you have settings that you like, press the “Save to File” button. Save the file to a local disk, SD card, or USB drive.
- Finally, move the file over to the printer, select the file, and begin printing. Ensure the printer has been leveled and adjusted before starting the print!
Adjusting components to fit the build plate
You’ll notice that some of the components from our 3D robot arm are too large to print on most standard 3D printers. In this section, we’ll look at ways to overcome this problem.
Scaling and Resizing
One method is to scale and resize the whole model. While this won’t work for some projects, for our robot arm, we can use a scale factor of 50-75% and the model will still be fine.
You can scale the model within the 3D printer utility or go back to the original CAD file and scale the component down by a factor. Just be sure that if you use this method, you use the same scale factor for every component or your components won’t align properly.
Also, take note that your holes and mounting points will be off by the same scaling factor. You might want to scale the component and then go back and adjust your holes so that you can use standard size fasteners.
Split and Join
Another method is to split the model and use snap-fit connectors or fasteners to join the pieces after the print is complete. This method works well if you’re willing to spend time creating press-fit or puzzle connectors in your design.
You can also opt to split your model and create mounting points for screws or create a ridge to run a bead of glue or adhesive. There are a few different options when it comes to splitting and joining parts, and it will allow you to retain the original part dimensions while having a smaller print bed.
Contract Manufacturing
If you don’t have access to a 3D printer or your 3D printer is too small, you can find a contract manufacturer online such as 3D Hubs, MakeXYZ, FacFox, or Print a Thing.
Manufacturing services allow you to get parts manufactured with a lower cost, higher quality, and shorter lead time. It’s also a cost-effective way to get into 3D printing without investing your knowledge, money, or buying a 3D printer.
Getting Started on 3D Hubs
One service that I can speak to directly is 3D Hubs. All you have to do is go online and upload your CAD file and select the material and color you want to print in. The system will generate a list of manufacturers and pricing to choose from.
Submit your payment, and the parts will arrive at your door. This is a convenient option if you don’t have the bandwidth or ability to print the model in-house.
I also like this option if my prints are greater than 24 hours. Because let’s be real, who wants to babysit a 3D printer for over 24 hours?
Contract manufacturing machines are professionally managed so you can get better print quality, and you don’t have to worry about misprints or 3D printer issues.
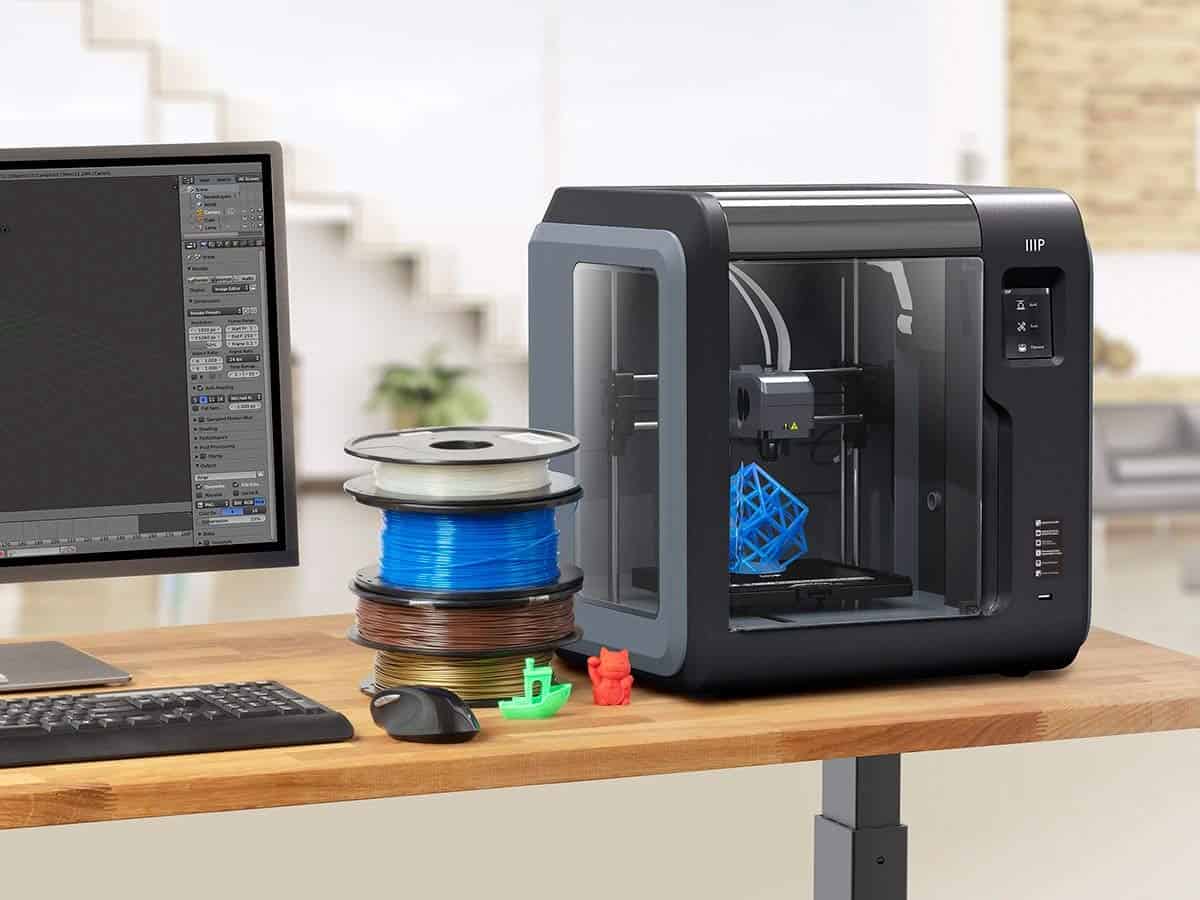
Best 3D Printers for Home
What if you want to buy your own 3D printer? Which one should you get? I personally picked up an Anet A8 as my first 3D printer, which I only recommend if you’re willing to learn the ins and out’s of 3D printing.
Therefore, I put together this chart outlining some of the most popular 3D printers, who they’re good for, and their approximate prices. You can use this as a starting point if you’re trying to decide which 3D printer to buy.
[amazon box=”B075D6L49C,B07BR3F9N6,B07GV5GLLC,B07D4QX9NB,B01LZSUQKL” template=”list”]Like most things, you get what you pay for with 3D printing, so don’t expect the best user experience and highest quality on 3D printers under $500.
Anet A8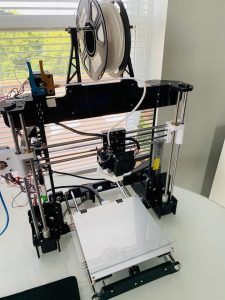
The Anet A8 is an affordable 3D printer kit that’s based on the Prusa i3 3D printer. It’s designed for makers and hackers looking to get into 3D printing, and it requires a lot of setup and patience.
The kit comes unassembled and takes about 8 hours to build. Once it’s properly configured, the Anet A8 can produce high-quality prints without the high price tag. I recommend checking out this model if you 1) want to learn the in’s and out’s to 3D printing, or 2) want an affordable printer that can make quality prints if you’re willing to put in a little extra effort.
FlashForge Adventurer 3 Lite
The FlashForge Adventurer 3 Lite is my go-to printer in 2022. I like it because it’s easy to set up for users of all levels, fully enclosed, and quiet and the print quality is great out of the box.
You can read more about my thoughts on the FlashForge Adventurer 3 Lite here.
Creality Ender 3
The Creality Ender 3 is another hobbyist 3D printer but without the 8-hour assembly time. It boasts a Bowden extruder, resume printing, and high-precision printing. It’s a great option for people looking for an affordable option without having to build and adjust every print like the Anet A8.
Monoprice Voxel
Another great option is the Monoprice Voxel. This 3D printer is enclosed, which is great for printing smelly materials, like ABS.
The Monoprice Voxel is a “hands-off” printer, meaning auto-leveling, and easy filament loading comes standard with this machine. No more finicking with the Z-height or nozzle before printing! For less than $400, this is a great addition to add to your lab.
[amazon box=”B07GV5GLLC” template=”list”]Lulzbot Mini 2
If you’re looking for a more premium option, the Lulzbot Mini 2 is a great mid-upper range desktop 3D printer under $1,500. The Lulbot Mini 2 is self-cleaning, self-leveling, and runs quietly. It was engineered to provide premium prints without the fuss of cheaper 3D printer kits. It’s a perfect addition to classrooms, offices, and workshops. Learn more about the Lulzbot Mini 2 on Amazon.
MakerBot Replicator+
Lastly, we have the MakerBot Replicator+. MakerBot has been around since the brink of 3D printing, so if you’re looking for a company that has been around for a while, they’re a good option. I like the Repliator+ model because it provides professional and engineering quality for under $3,000.
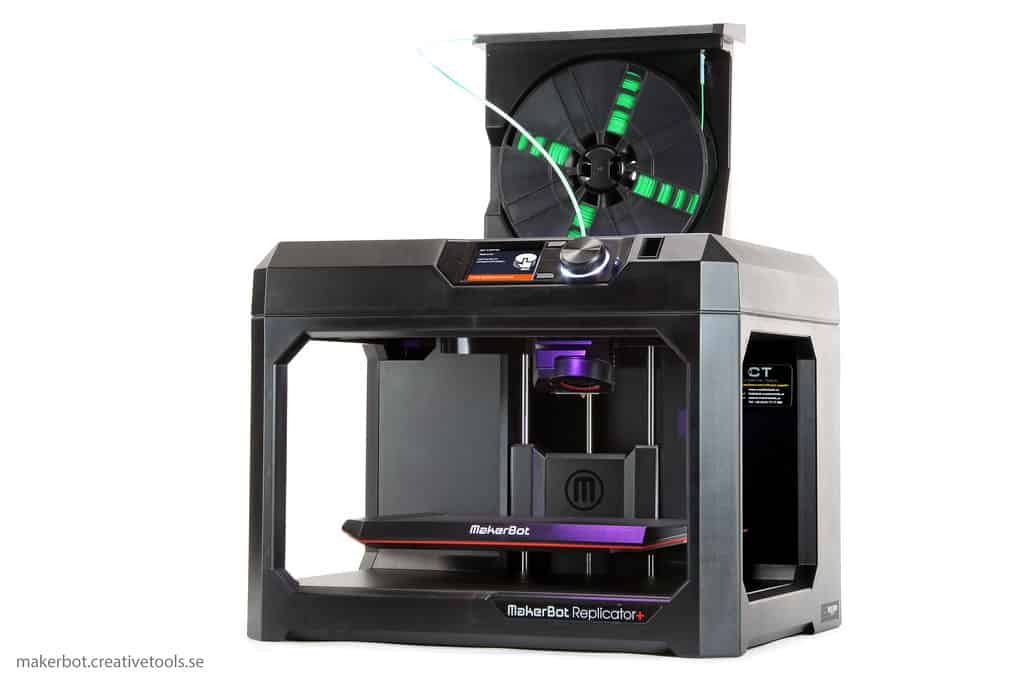
If you plan on manufacturing your products or parts, this could be worth the investment. Plus, it’s fully enclosed, includes a Wireless setup, and has best-in-class support.
MakerBot is based out of NYC, so you don’t have to worry about deciphering a foreign user manual.
If you plan on doing 3D printing as a service or using it as part of your engineering business, I recommend spending the money on a MakerBot that’s going to last and doesn’t require as much hands-on finesse as some of the cheaper 3D printer options out there.
Once you’ve selected your 3D printer, be sure to check out our guide on how to get started with 3D printing.
Best Filaments for 3D printing
Another important thing to consider during the manufacturing process is material selection. In this section, we’ll explore popular 3D printing filaments.
PLA (Polylactic acid or polylactide)
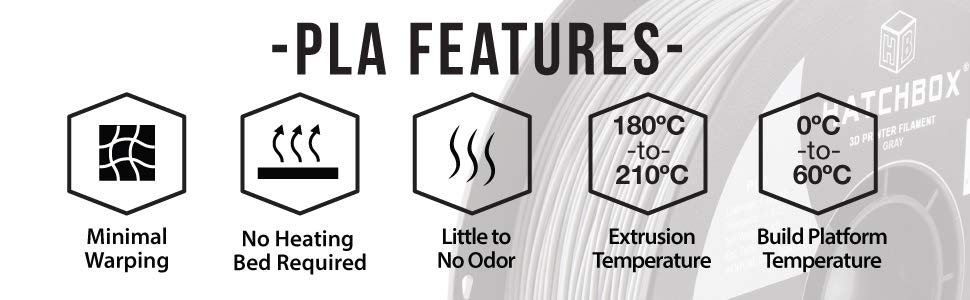
PLA is a plant-derived renewable biomass that has a sweet smell while printing. PLA is a popular choice when it comes to 3D printing because it doesn’t require ventilation. PLA is great for rapid prototyping where aesthetics are important. You can get PLA from Amazon for about $20 per roll. I recommend HATCHBOX PLA.
ABS (Acrylonitrile Butadiene Styrene)
Another popular choice is ABS filament. ABS is a popular choice for rapid prototyping in professional engineering companies because it creates durable parts that can withstand higher temperatures. You’ll need a heated bed because ABS will contract while it’s cooling, which can cause warping. I also recommend printing ABS in a well-ventilated area because ABS emits a high level of Ultra-fine Particles while printing.
PETG / Nylon / Carbon Fiber / Blends
Furthermore, you can find filaments containing PETG, Nylon, Carbon Fiber, and even Wood PLA blends. Depending on your 3D printer, you might be able to print in multiple materials. Nylon and Carbon Fiber are coveted materials because they boast lightweight but strong material properties, which is great for finished goods rather than rapid prototypes.
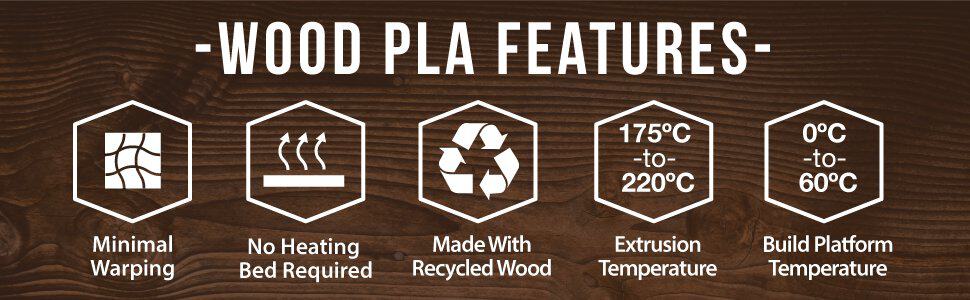
The wood blended filament can give the appearance of a wooden part without having to carve actual wood. There are a lot of materials options when it comes to filament so I recommend checking out various types, trying them out, and seeing which works best for your project.
Start Manufacturing Parts from Fusion 360
Now, it’s your turn! Throughout this Fusion 360 tutorial series, you’ve learned how to design components, create drawings, build assemblies, and prep files for 3D printing.
As a result of these lessons, you should be well on your way to manufacturing a real industrial robot arm from scratch! Whether you decide to build this robot or create something entirely new, these steps can be reused and modified to develop your manufacturing process.
If you have any questions or comments, be sure to leave them in the comments section below.
Download the Starter Code Files


