In the last tutorial, we fetched data from connected devices published on dweet.io. Now, we’re going to create a Python script to grab device data for a database.
If you haven’t read the previous tutorial, I recommend completing that before attempting this one. This tutorial is most suitable for those who are familiar with SQL databases and have written programs using Python. I will not be reviewing these topics in detail, so if you aren’t familiar with them, I recommend checking out Python for Everybody, first.
Materials You’ll Need
Again, you’ll need to use a computer for this project. A tablet, like an iPad, will not work.
Install Python on your computer. You’ll also need a text editor such as Atom.io or Sublime Text. I’m a huge fan of Atom.io and will be using it throughout this tutorial.
Download & configure the dweepy repository. The README explains all of the steps for configuration in detail.
Install SQLite Browser (where we’ll create our databases).
Refresher from Fetching Data
If you’ve already read my tutorial on fetching data from dweet.io using Python, then go ahead and skip to the next section. If not, I’m going to briefly recap what we did to obtain the data from dweet.io.
We created a retrieve.py script using the dweepy library. Next, we picked a “thing” from the Discover page of the dweet.io website. Furthermore, we used the dweepy.get_latest_dweet_for(thing) command to obtain the URL feed in JSON format. Lastly, we parsed the JSON feed and printed out key metrics (date, time, temperature, and humidity).
Now it’s time to move on to adding this data to a database.
Creating a database for IoT devices using dweet.io
We are going to import dweepy, sqlite3, and time. Then prompt the user to identify the “thing” name on dweet.io.
Next, create a connection to the sqlite3 database (db). Configure the database cursor and execute a new table.
Resume data logging at anytime
The next section of code is where the real “magic” happens. We want to be able to resume data collection at anytime without losing data. Therefore, we create a section of code that searches for the “maximum id” in the Database table. If there aren’t any rows in the table, we set our start to zero. Otherwise, we resume at the next row.
Retrieve data from dweet.io
We’ll ask the user how many readings to add to the database, then run some code to fetch these readings.
The try and except statements provide a way to exit the code without a traceback. This is helpful if you want to stop fetching data by pressing a key on the keyboard or if there’s an error retrieving data from the provided thing name.
You’ll notice we also parsed the JSON format from the thing’s URL in the try statement to obtain our data readings.
Committing data to the database
Lastly, we’ll commit the readings to our database. I’ve included a user option to have the most recent readings print out in the Terminal window.
And that’s pretty much it! (Not too shabby!) You can download a copy of the source code below and give this project a try!
Here’s your download!
View the full source code here.
Viewing the database
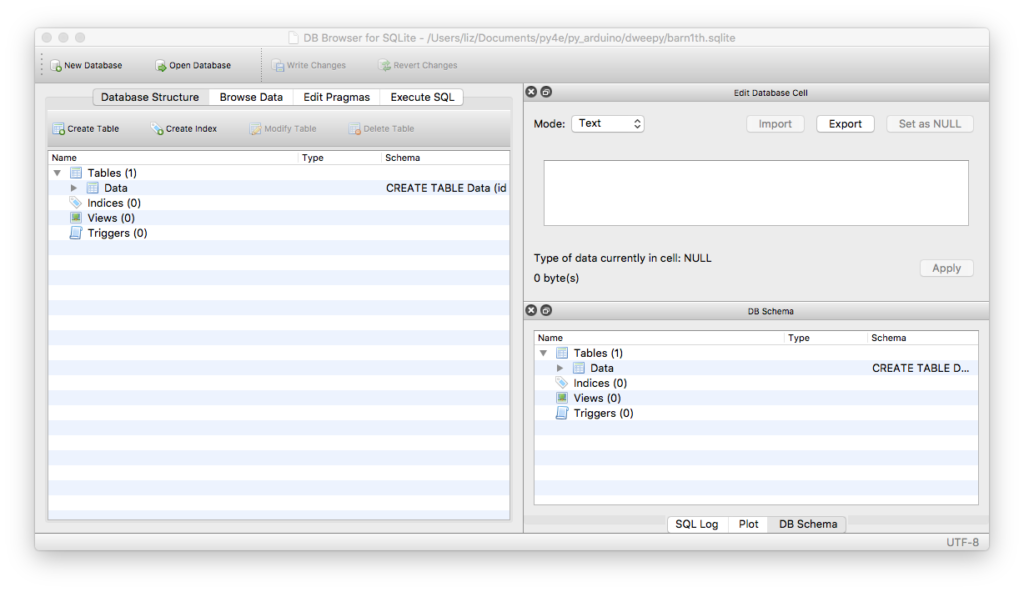
Open up the DB Browser for SqLite. Navigate to the folder where your retrieve_store.py script is stored. This is where the DB file (with .sqlite extension) is created and saved. Use DB Browser to open up this file. The script creates a database for each thing in the format “thing.sqlite.”
Then, click on the Browse Data tab to view the collected data for your thing.
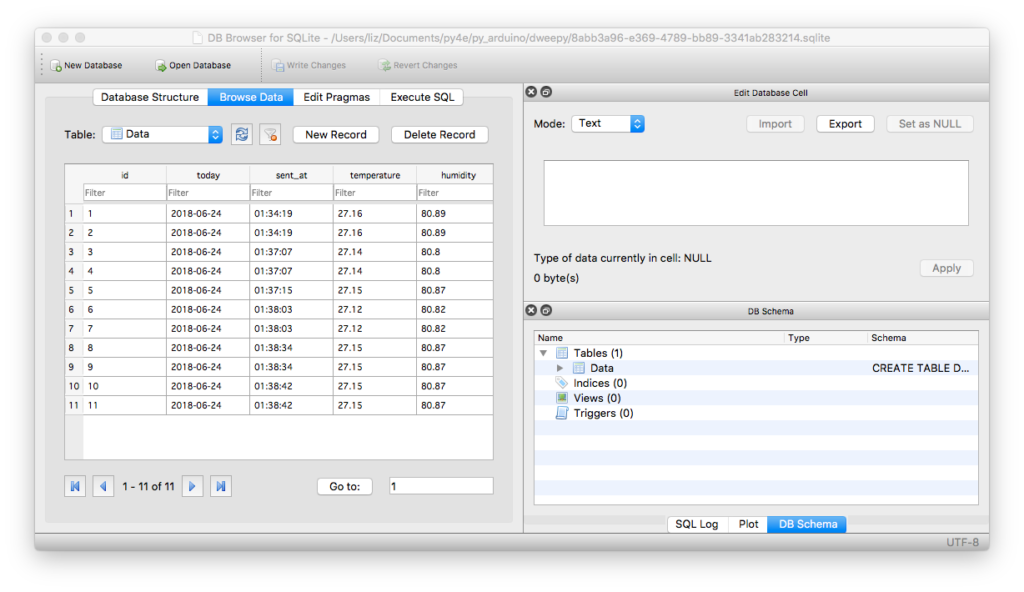
If everything worked correctly, you should see a listing of all of the collected readings. If not, then try clicking the refresh button next to the Data table dropdown.
Next Steps & Applications
Once you know how to obtain data and store it into your database, you have the freedom to do whatever data analysis you want to with your data!
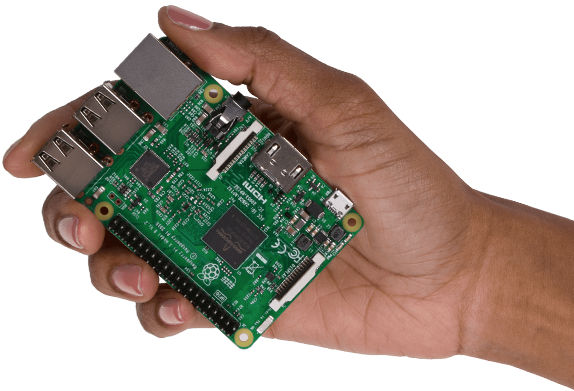
I think it would be pretty cool to use the Python script to retrieve readings every hour. The nice thing is once you have an understanding of what you’re trying to analyze, you can create another Python script to manipulate the database. Rather than leave the script running on your laptop, you could move it over to a single-board computer like the Raspberry Pi.
Also, if you’re more of an Excel person, you could export your data table to a .CSV, and use Excel to perform graphing. (Or use something like D3.js to create graphics using Python.) The possibilities are endless!
In the last few tutorials, we’ve been using public things on dweet.io. In the next tutorial, I’m going to show you how to set up the hardware for your IoT device and publish your own sensor data to dweet.io.
Share this Article
If this article helped you, then please share it on Social Media! This helps spread the word about my mission! Thanks for the support! 🙂